There is a reason why Russian agent Sasha Novikov, also known as Sova, is one of the most played agents in VALORANT. His equipment helps his teammates to become their best, making him an important support agent. His kit is also handy to the squad; it enables him to detect and distract adversaries while allowing his crew to escape.
This guide will cover all his skills and uses and how you can win more games with him.
Abilities
Sova plays as an Initiator, allowing him to detect opponents and initiate attacks on site. As an Initiator, he can force his opponents out of their hiding spots and allow teammates to pick them off.
Although he suffered nerfs during the updates, his kit and potential for lineups from literally anywhere on the map still make him a popular choice among the community. Let’s take a closer look at his abilities.
Owl Drone
- Owl Drone (C) lets Sova summon an owl drone and scout ahead. This ability lets you check corners and hiding spots, flushing out opponents and forcing them out in the open. With the drone, Sova can fire a marking dart that reveals the enemies’ location.
Shock Bolt
- Shock Bolt (Q) lets Sova poke enemies and, on lucky shots, allow you to kill them. You can hold fire to extend the range of the dart, while alternate fire (left click) adds up to two bounces. Each dart costs 150 credits.
Recon Bolt

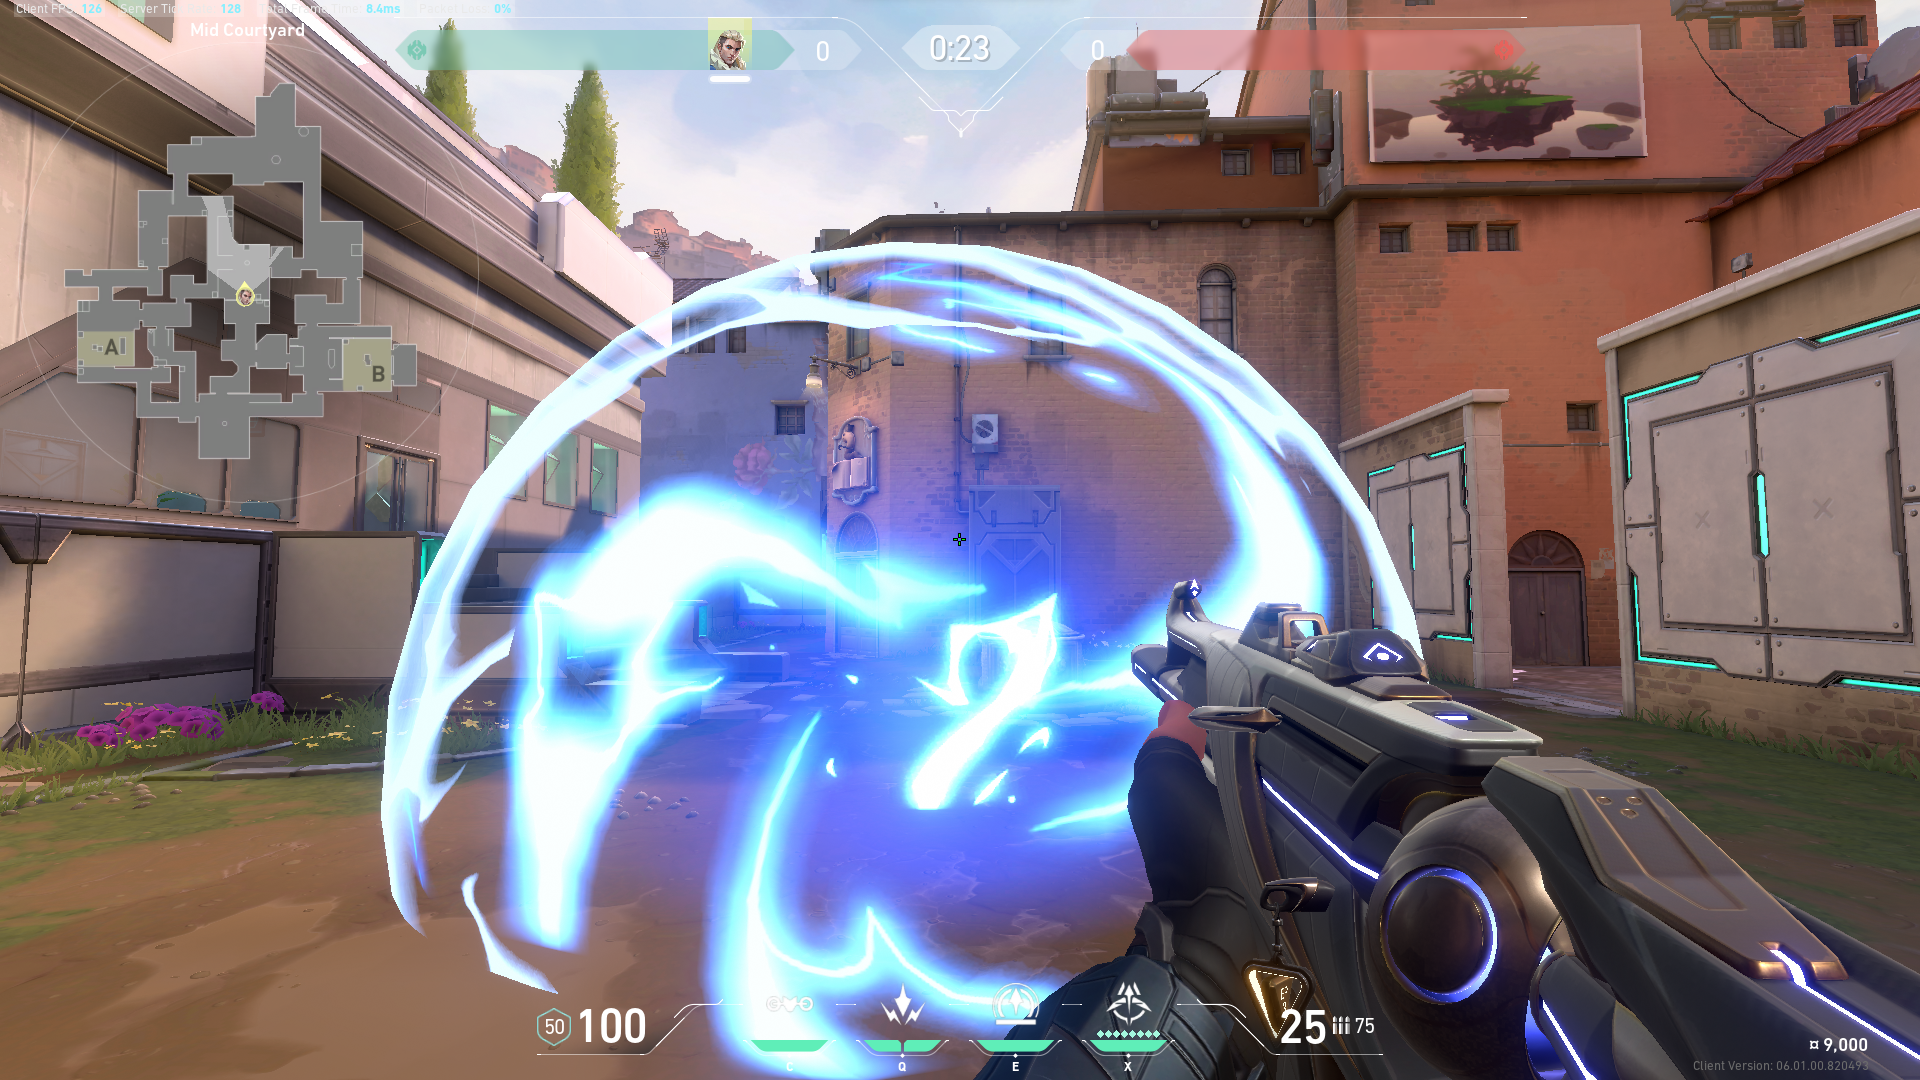
- Recon Bolt (E) allows Sova to scan an area, letting him and his team know if enemies are holding or pushing into the site. The recon lasts 3.5 seconds, and its cooldown is 40 seconds long. It’s common for Sova players to throw the Recon Bolt at the start of the round, allowing the cooldown to start so they can use another one later.
Ultimate: Hunter’s Fury
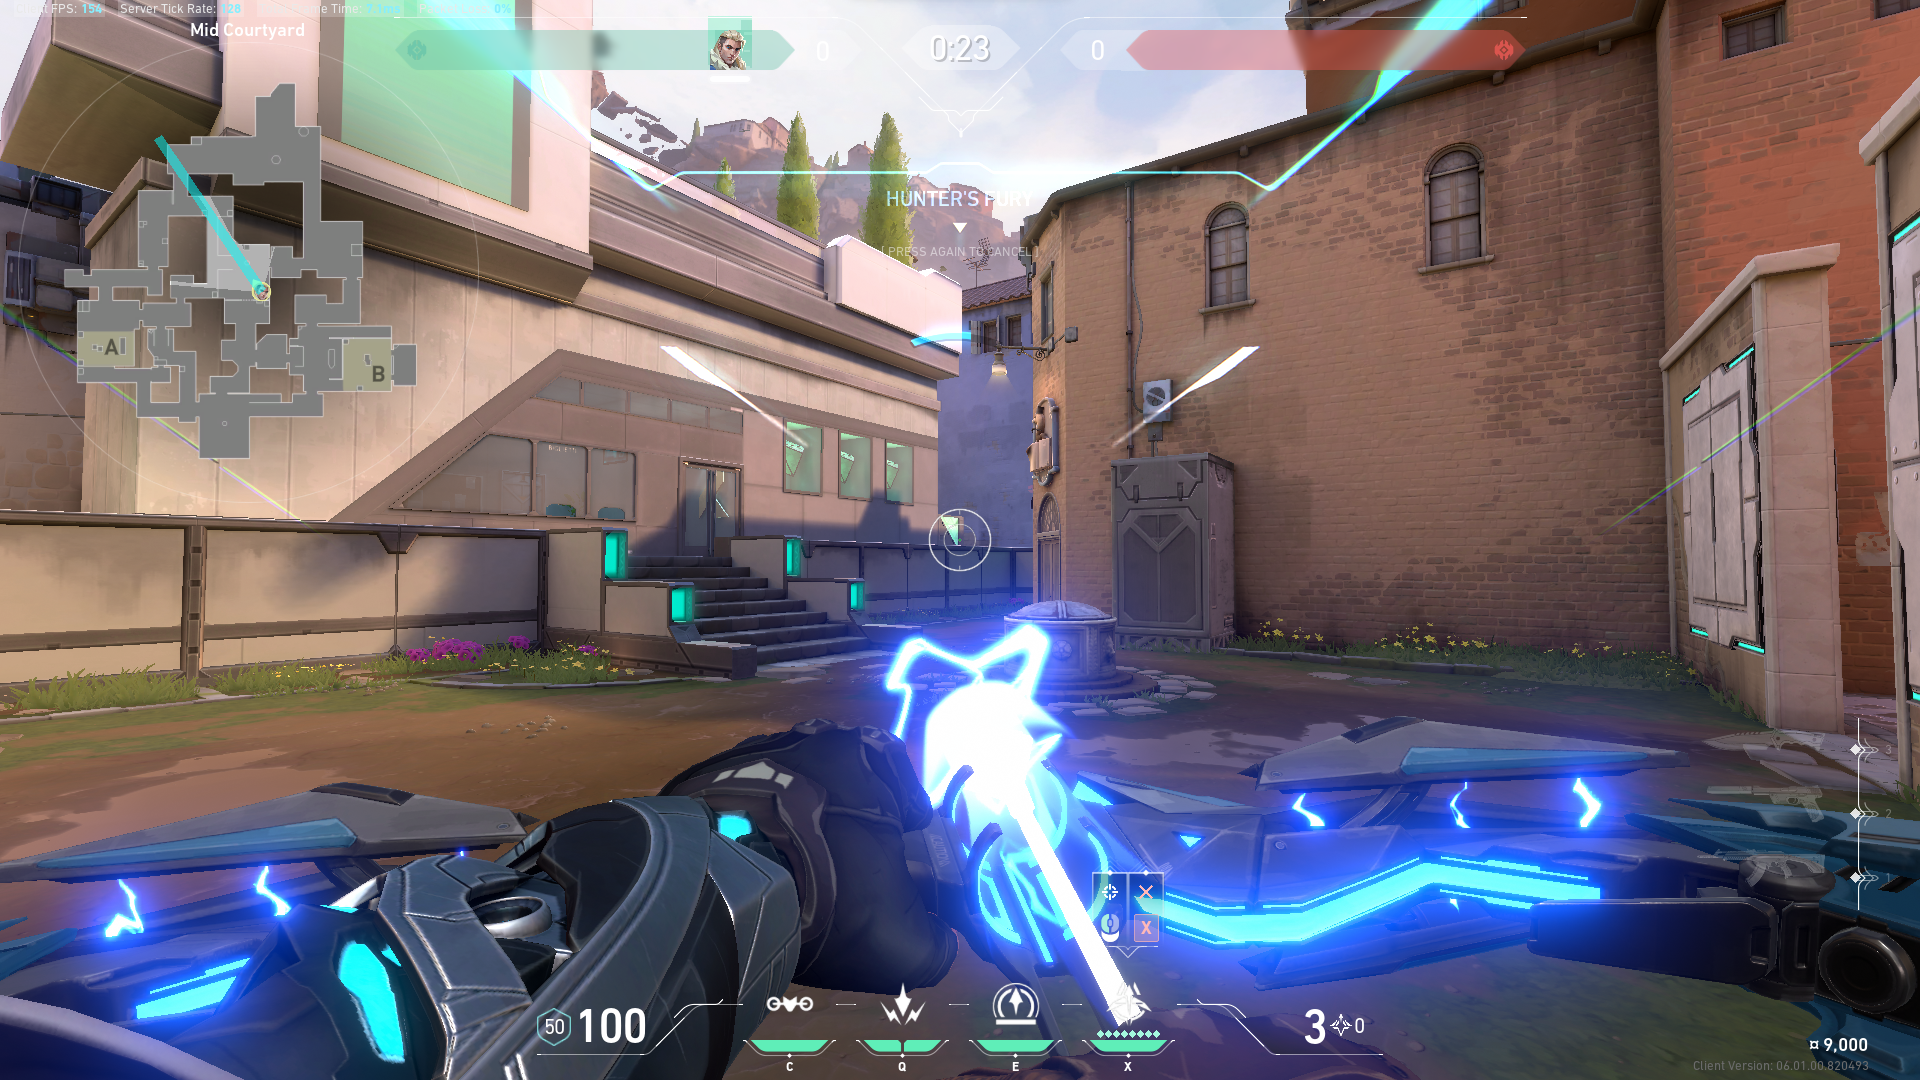
- Hunter’s Fury (X) lets Sova equip a long bow with three long-range, wall-piercing energy blasts that can reveal the enemies’ locations and damage them. You can reuse the ability up to three times while the ability timer is up.
Tips and Tricks
- You should always assess if clearing an area warrants the use of your Owl Drone. If a Recon Bolt can do the same, it’s not worth wasting your drone because the Recon Bolt is free. Remember that your Owl Drone costs 400 credits and lasts only 7 seconds.
- You can use the Owl Drone as a distraction if you have difficulty firing the marking dart at your opponents. It takes a few shots for it to go down, so you and your teammates can use this as a distraction before picking off your enemies.
- The Shock Dart is indispensable when it comes to disrupting Spike defuses. Many players use this skill to create tons of lineups, allowing them to kill the defusers without even peeking at the spike.
- Whether you intend to be a Sova main or not, it’s practically a requirement to learn lineups if you plan on using him. If you fire your Shock Dart from the right place at the right time, it will most certainly stop defenders from defusing. If you fire the Recon Bolt with the right amount of range and the right amount of bounces, it can stick to an awkward place that lets you see the enemies without them being able to destroy it.
- Fire your Recon Bolt as soon as your teammates begin fighting. As a result, your opponents will be forced to shoot at the dart or your teammates. This works for both defense and offense. You may use your dart to assault the attacking team or to start the siege as the attacker, which is one of the essential aspects of this Sova guide.
- Hunter’s Fury is excellent for stopping aggressive pushes on certain maps. You can also use this ultimate to stop enemies from defusing the spike. However, you still risk being rushed if there are multiple enemies, so take precautions.
- On the attack side, you can use Hunter’s Fury to clear corners and usual hiding spots while your team is rushing in. This throws off the defenders and allows your teammates to finish off the foes you’ve already harmed, found, or just displaced from their position.
- As Sova, you need to capitalize on the information you gather with your damage abilities (Shock Dart and Hunter’s Fury). You shouldn’t force yourself strictly into an information-gathering role. If you want that kind of role, we suggest you go for Cypher since his kit is entirely focused on reconnaissance.
Best Maps for Sova
Ascent
Sova’s best map is Ascent. Sova is an excellent and consistent selection for most of the maps in rotation, but Ascent’s verticality and a large amount of open space make it great for Sova. The bomb sites are also quite small, which allows Sova to locate enemies using his skills. Not to mention, there are so many wallbang spots in Ascent that it makes it easy for Initiators just to locate an enemy and shoot at them through walls.
Breeze
Because Breeze is such an open map, it’s a great place for Sova to play around with his Recon Bolt. There are minimal places to hide (if you don’t know what you’re doing), so it’s rather easy for Sova players to throw their Recon Bolts and locate their enemies.
Haven
Haven is considered one of the best maps for “nutty” and sneaky Recon Bolts, followed by wallbang spots. Garage is famous for its easily breakable doors, followed by an insane amount of bullets from either an Ares or Odin. A cheese play, sure, but it works!
Bind
Because of the tight corners and long halls for Hunter’s Fury, Bind is one of Sova’s best maps. There are tons of Recon Bolts you can angle without needing to master lineups. However, some lineups are still necessary since Sova can support any site from anywhere with incredible Recon Bolts.
Icebox
Before the releases of Fracture, Pearl, and Lotus, many players hated Icebox. However, it just so happens to be one of the best maps for Sova. This map has many long angles that allow Sova to make the most of his arrows.
A great strategy for defense is to cover A Site by using a double-bounced Recon Bolt to scan the entry area. This allows the team to know if the Attackers are pushing site or if they are pushing B Site instead.
Worst Map for Sova
Split
Because of the map’s verticality, Sova is not a good pick for Split. Split is, arguably, the worst map for him, and pro players frequently avoid it. On this map, the quantity of information you can acquire with your Recon Bolt is far smaller than on the others.
Don’t get me wrong; you can absolutely make Sova work on this map, but it won’t be as effective as playing him on the other maps. However, if you want to take up the challenge, there are tons of crazy arrow lineups you can use on Split.
Best and Worst Agent Compositions for Sova
It’s always best to play around with your team’s composition, especially if you want more wins. If you want to main Sova, here are some of the best agent compositions for him:
- Sova, Brim, KJ, Reyna, KAY/O
- Sova, Viper, Jett, Chamber, KAY/O
- Sova, Chamber, KJ, Sage, Viper
- Sova, Chamber, KAY/O, Sage, Viper
- Sova, Omen, Killjoy, Jett, KAY/O
Remember to keep your team as balanced as possible, although I do have to say it’s fun playing in “meme teams.” Take your pick: all duelists or all initiators. However, if you’re serious about climbing the ranks in Competitive mode, I suggest you keep compositions as balanced as possible.
Now, this is arguably the worst team composition for Sova:
- Sova, Breach, Skye, Killjoy, Raze
Killjoy excels at keeping adversaries out of spike locations, which isn’t always what Sova desires. He must acquire intelligence about pushing foes before they get on location, which Killjoy requires enemies to do.
Breach prevents opponents from entering the location and blocks them, which might occasionally overlap with Sova’s function. Skye is effective at locating opponents, although it takes more work than Sova can perform with a single Recon Bolt.
Lastly, Raze lacks smokes and vision-blocking skills, making it difficult for the squad to push unto the site.
Synergies
Sage Slow Orb + Sova Hunter’s Fury
If your opponents are playing in predictable post-plant situations or executing on-site, these utilities would be the best combination. For example, in Icebox, Sova may ult from Boiler to 410 and Snowman to B Yellow since these are favorable angles for hitting foes and simple areas for Sage to cast Slow Orbs safely.
Viper Snakebite + Sova Shock Dart
These characteristics are useful during post-planting. Viper’s Snakebite weakens the diffuser, allowing Sova’s Shark Dart to do double damage and kill an adversary. This may also be done easily if you’re in Icebox, on Defense, and the opposing side is planting default A Site. Shoot the utility from the door at the A Rafters and bank it off the wall next to Generator onto default.
Chamber Rendezvous + Sova Recon Bolt
This synergy works best in Breeze. Chamber can arrange a Rendezvous around B or A Main to attempt a fast Op kill once the round begins by looking towards B Elbow or A Ultimate Orb in A Shop.
The Recon Bolt may be fired down A Cave or B Window to ensure that no attackers are advancing into the regions that Chamber is exposed to and not looking at so he can tunnel vision on one sight line and then Rendezvous when he shoots, the Recon Bolt expires, or the Recon Bolt is destroyed.
Jett Cloudburst + Sova Recon Bolt
Sova can shoot his Recon Bolt while Jett sprints into her Cloudburst. Jett can shoot the highlighted opponent within her smoke if an enemy is pinged. This works best on Ascent when Sova fires his Recon Bolt behind A Generator, and Jett is on top of it, as she can view the whole A Site from there.
Remember to top up your VALORANT Points at Codashop. We provide a quick and easy option to purchase VALORANT Points for a hassle-free gaming experience.


 Collide in Honkai Star Rail 3.4 Fate/Stay Night Collab Event")

