When playing an FPS game, you must keep all of the game’s components and characteristics in mind to play to your greatest ability! Yet, at the end of the day, no one can deny that the weaponry included in every FPS game are the most crucial component of the game.
VALORANT is no different. You have a plethora of weapons to learn and keep track of. In this guide, we’ll go through each of the 17 weapons, talk about when to use them, and their strengths and weaknesses.
List of Weapons
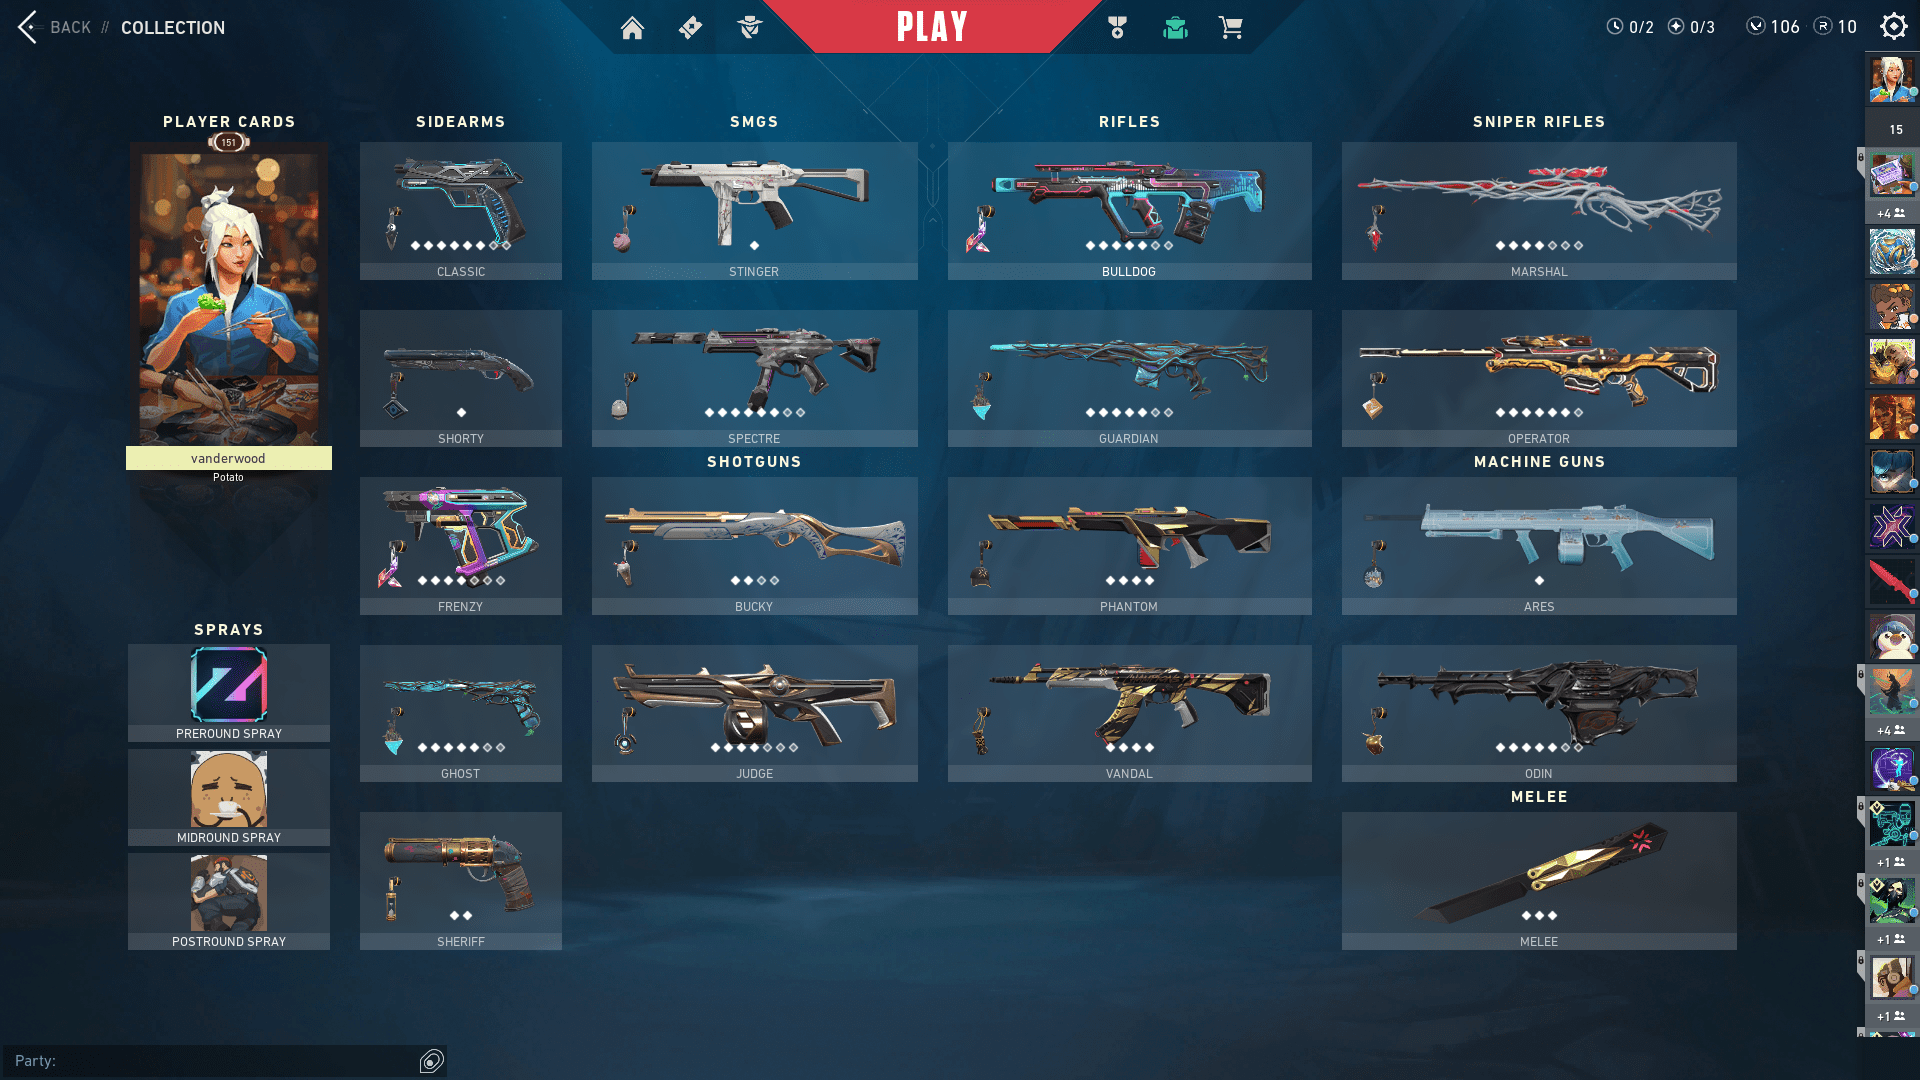
Sidearms
Classic
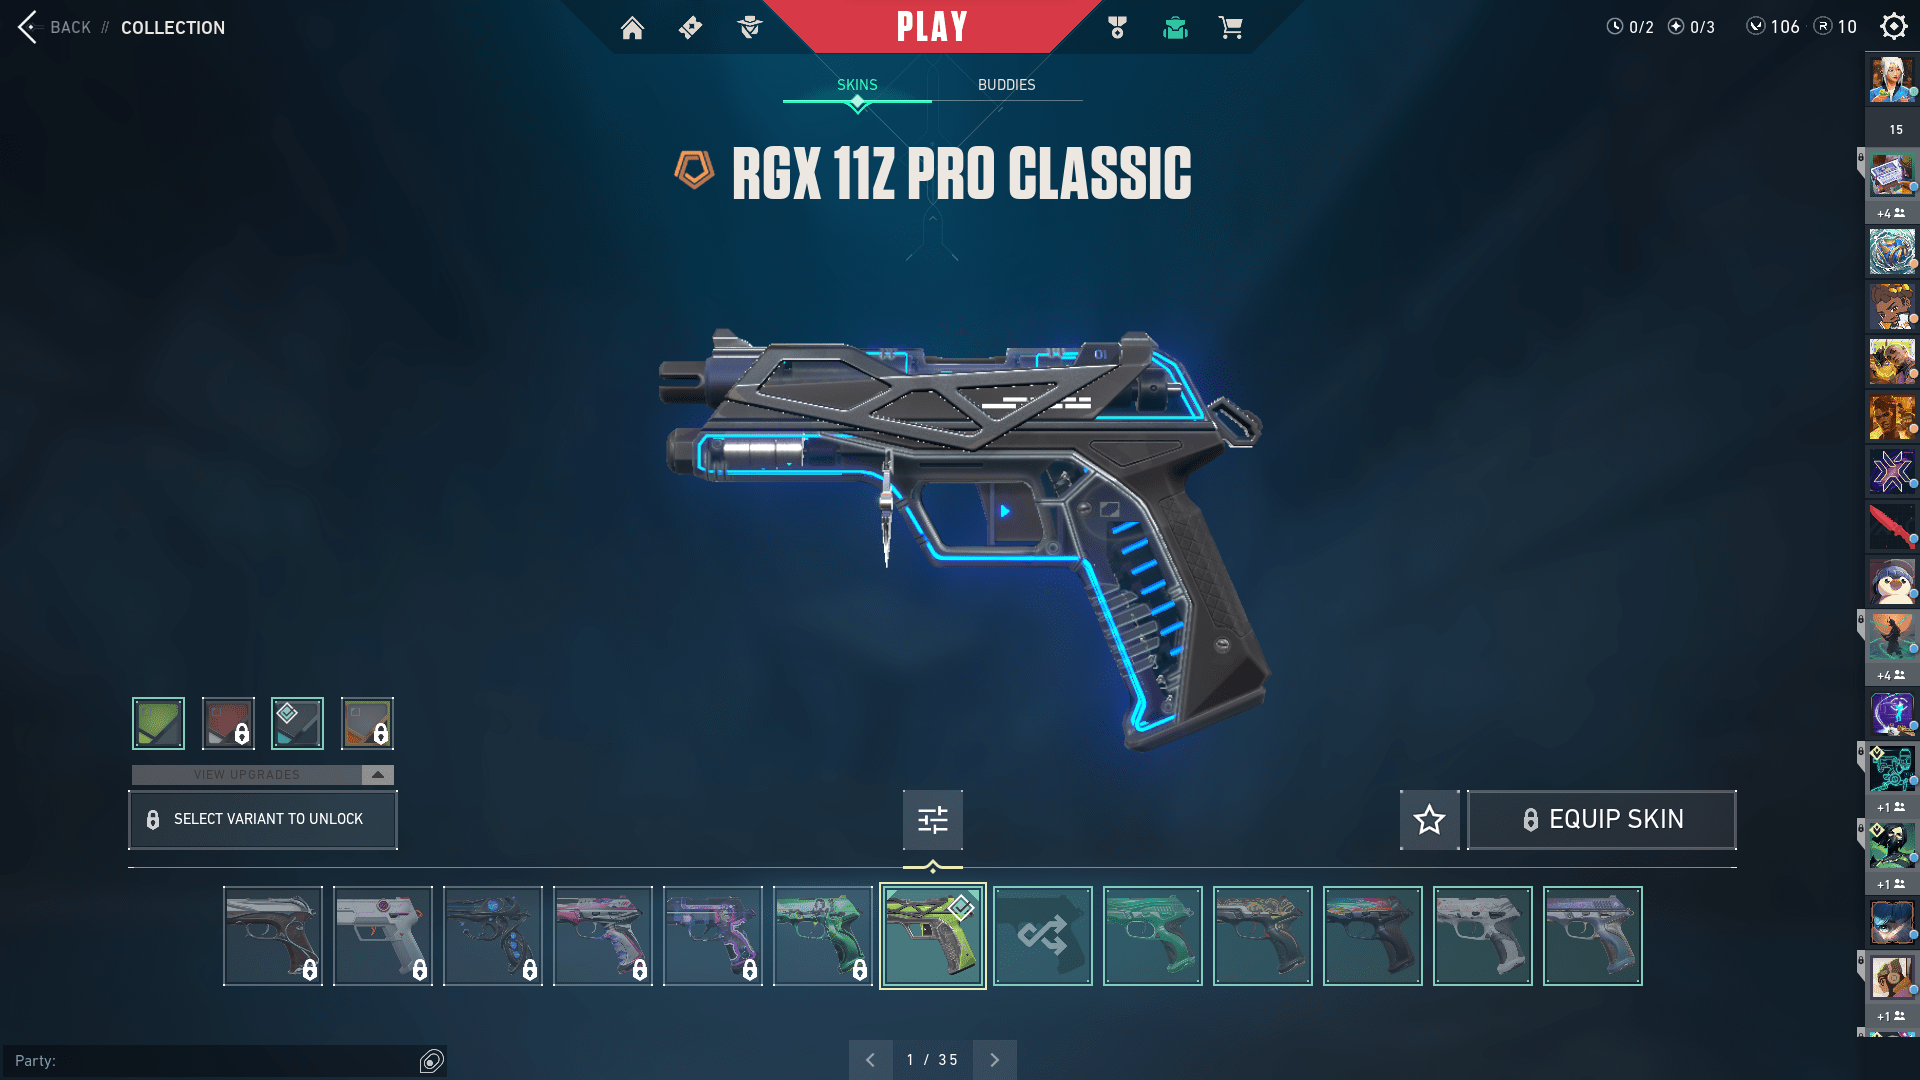
The Classic is a complimentary pistol you receive at the start of each round. It is a potential Sidearm option, either as the weapon of choice in pistol rounds or as a last resort if your primary weapon runs out of ammo during full buy rounds.
Its main advantage is its versatility: it features a single-shot primary fire for short-to-medium range tapping and a three-shot secondary fire for close combat shotgun damage. Compared to other Sidearms, the Classic has 12 rounds per magazine, an average rate of fire, and average run/equip/reload rates.
Here’s a damage breakdown for the Classic’s primary fire:
| Distance | Head | Body | Legs |
| 0 ~ 30m | 78 | 26 | 22 |
| 30m ~ 50m | 66 | 22 | 18 |
Shorty
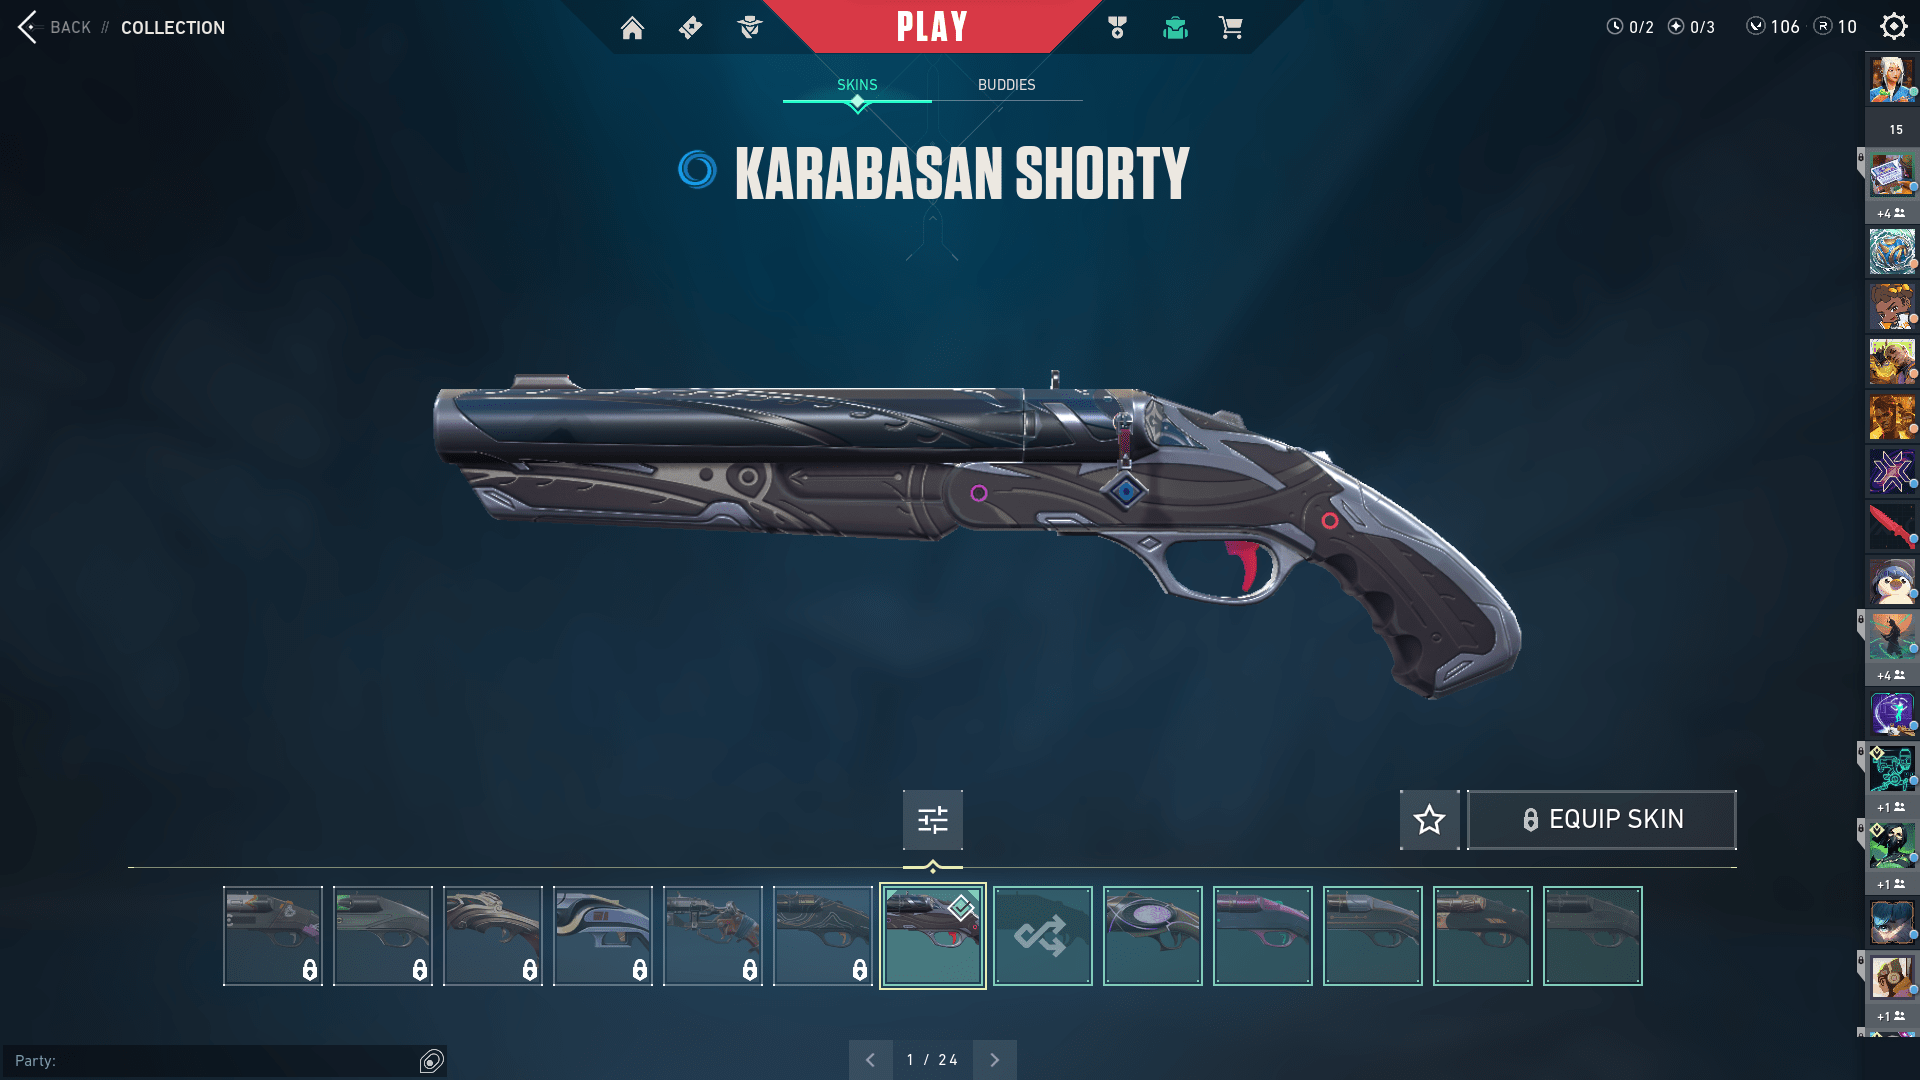
The Shorty is a low-cost, specialized Sidearm that functions as a small shotgun. Because of its large pellet spread and low falloff multiplier, this weapon is only useful at distances of less than 15 meters; otherwise, it is not that useful.
When utilized correctly at point-blank range, you may catch fully-armored foes off guard and kill them with a single clip. Because it only costs 150 Creds, it is a suitable pistol to employ in VALORANT Economic Guide, where low-investment purchases are advised.
Each shot has 15 pellets, and each magazine clip contains two rounds. Because of the slow reload period of 1.75 seconds, you must either kill your opponent in two bullets or arrange an exit strategy after emptying your magazine. It is advisable to utilize the Shorty when you are certain that opponents will pass by your hiding area.
Here’s a damage breakdown for the Shorty:
| Distance | Head | Body | Legs |
| 0 ~ 7m | 24 | 12 | 10 |
| 7m ~ 15m | 16 | 8 | 6 |
| 15m ~ 50m | 6 | 3 | 2 |
Frenzy
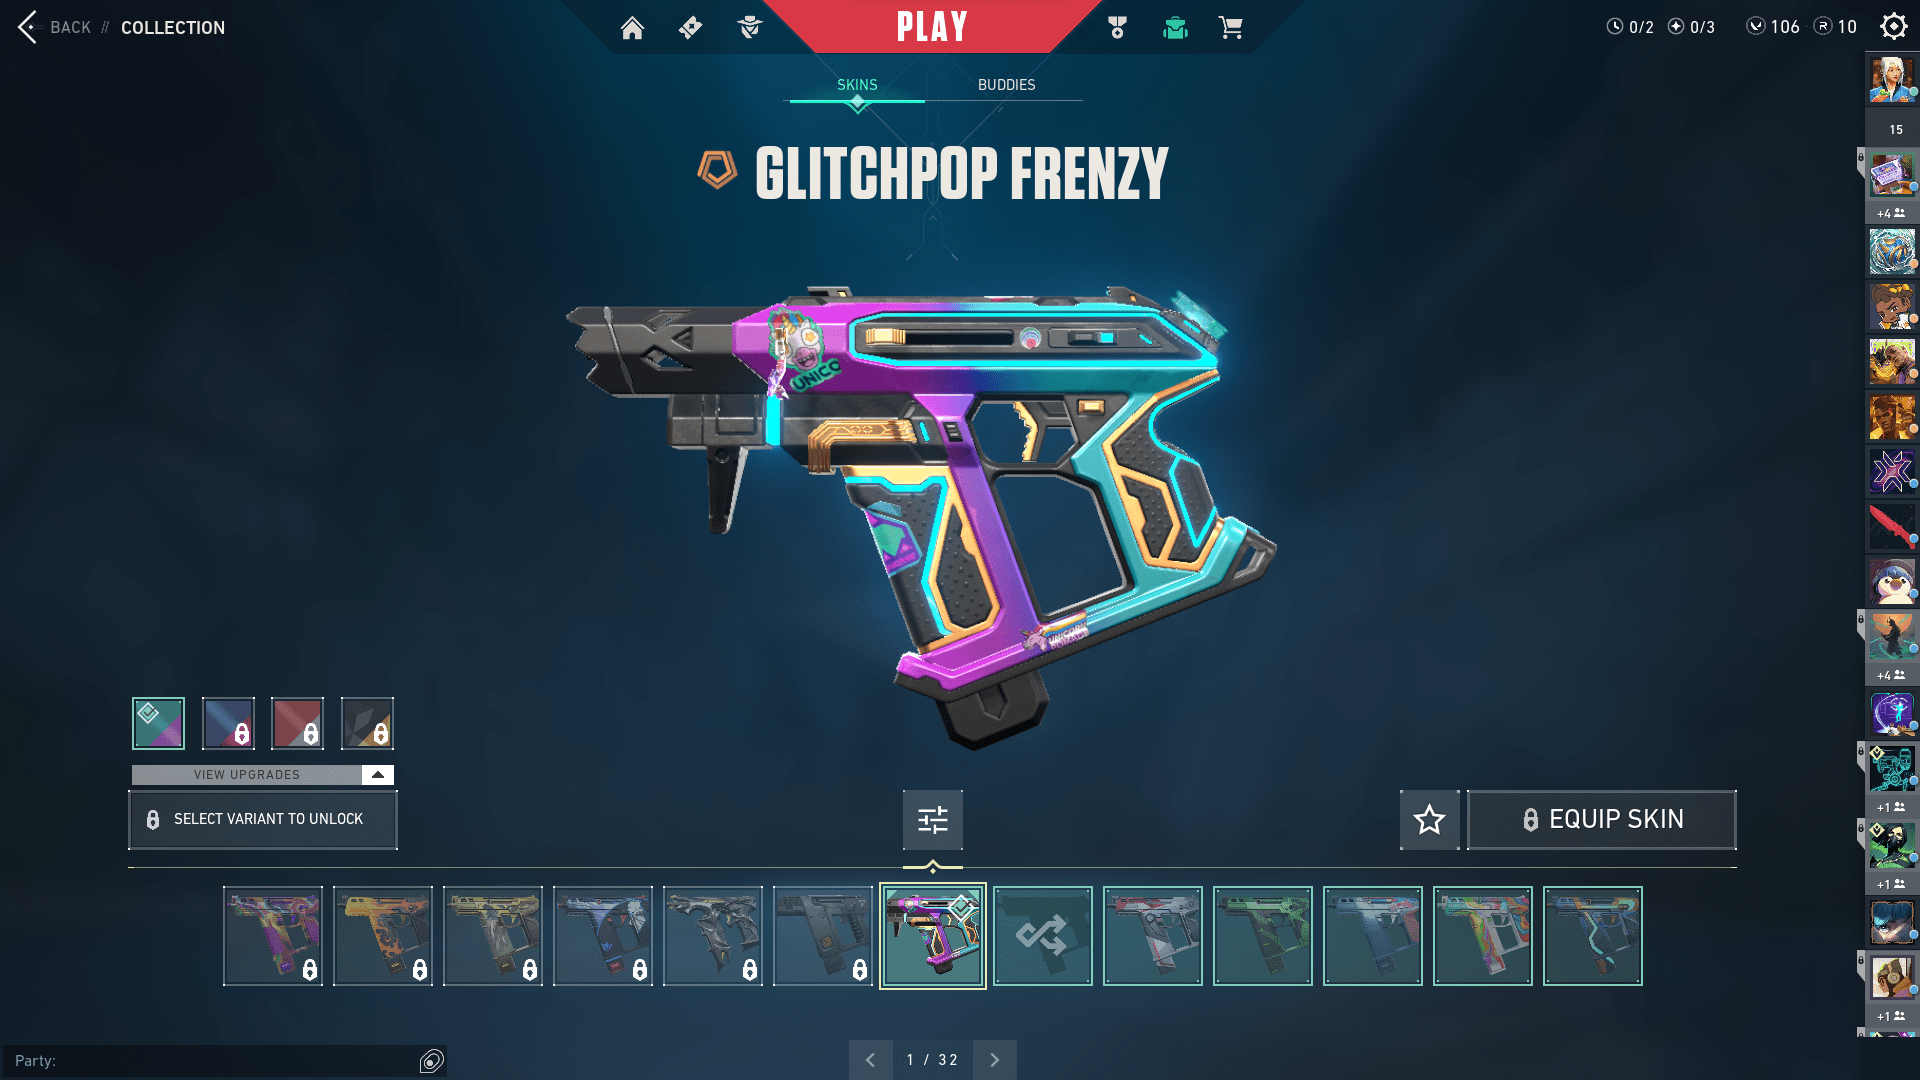
The Frenzy is the Sidearm equivalent of an SMG, much as the Shorty is the Sidearm equivalent of a shotgun. Its fast firing rate of 10 rounds per second and a short magazine capacity of 13 bullets make it a high-risk, high-reward automatic handgun. At a low cost of 450 Creds, the Frenzy is a good choice for pistol rounds or rushing the opponent when on a VALORANT Economics Guide.
Employing the Frenzy at close ranges is preferable to get the most out of this rapid-fire, run-and-gun weapon. It has the same reload time as the Ghost at 1.5 seconds but the longest equip time of any Sidearm at 1 second.
Here’s a damage breakdown for the Frenzy:
| Distance | Head | Body | Legs |
| 0 ~ 20m | 78 | 26 | 22 |
| 20m ~ 50m | 63 | 21 | 18 |
Ghost
The Ghost is a semi-automatic handgun with medium to long-range capabilities. It is quiet, which means that bullet tracers are not visible, and the pistol is not heard beyond 40 meters. The Ghost is a fantastic pistol to spam through smokes to try to take off foes without too much repercussion stealthily. It has a reasonable firing rate of 6.75 rounds per second and a large magazine size of 15 bullets.
With a well-placed headshot, you can one-shot an unarmored opponent – a strong bet during pistol rounds. The Ghost, which costs 500 Creds, is a decent choice for handgun rounds to match with one or two abilities.
Here’s a damage breakdown for the Ghost:
| Distance | Head | Body | Legs |
| 0 ~ 30m | 105 | 30 | 20 |
| 30m ~ 50m | 87 | 25 | 21 |
Sheriff
The Sheriff is a semi-automatic hand-cannon worth 800 Creds. With its ability to one-shot kill armored opponents with a headshot, it is the most costly Sidearm. Because of its heavy recoil and sluggish firing rate of 4 bullets per second, the Sheriff promotes precision but punishes inaccuracy.
Its excellent wall penetration and damage make it handy for wallbang spamming. But, because there are only six rounds per magazine and a 2.25-second reload time, utilize your shots carefully. Overall, the Sheriff is an excellent weapon to utilize during Force or Light Buys to give you a fighting chance against fully equipped adversaries.
Here’s a damage breakdown for the Sherrif:
| Distance | Head | Body | Legs |
| 0 ~ 30m | 159 | 55 | 46 |
| 30m ~ 50m | 145 | 50 | 42 |
SMGs
Stinger
The Stinger is a short-range SMG that is ideal for running and shooting. It has an automated main firing mode and a semi-automatic burst secondary fire mode. Aiming down sights activates the secondary four-bullet burst option, which reduces dispersion, recoil, and damage falloff to allow for greater effectiveness at longer ranges.
Do note that the Stinger is not designed for long-range shooting; with an incredible 16 rounds per second firing rate but significant recoil, it is best suited for close-quarters defense. With just 20 rounds in the magazine, your whole clip will empty in a little over a second of steady firing. As a result, try not to engage numerous opponents with this weapon at once, and instead utilize the Stinger to move rapidly, kill quickly, and improve your gun as quickly as possible.
Here’s a damage breakdown for the Stinger:
| Distance | Head | Body | Legs |
| 0 ~ 30m | 67 | 27 | 22 |
| 30m ~ 50m | 62 | 25 | 21 |
Spectre
The Spectre is a dependable SMG with a short-to-medium range. With 1600 Creds, the Spectre is suitable for 2nd round Force purchases or Half Buys later in the match. It, like the Ghost, is silent, so you can use its 30-bullet magazine and high fire rate to spam through smokes effectively. Just aiming below sights decreases dispersion and recoil.
It’s a reliable all-around weapon. It is not as risky as a shotgun but not as powerful as a Phantom or Vandal. Reduce dispersion and recoil by aiming down sights. Use its controlled recoil and enormous ammo capacity to deal with as many opponents as necessary, then upgrade when possible.
Here’s a damage breakdown for the Spectre:
| Distance | Head | Body | Legs |
| 0 ~ 20m | 78 | 26 | 22 |
| 20m ~ 50m | 66 | 22 | 18 |
Shotguns
Bucky
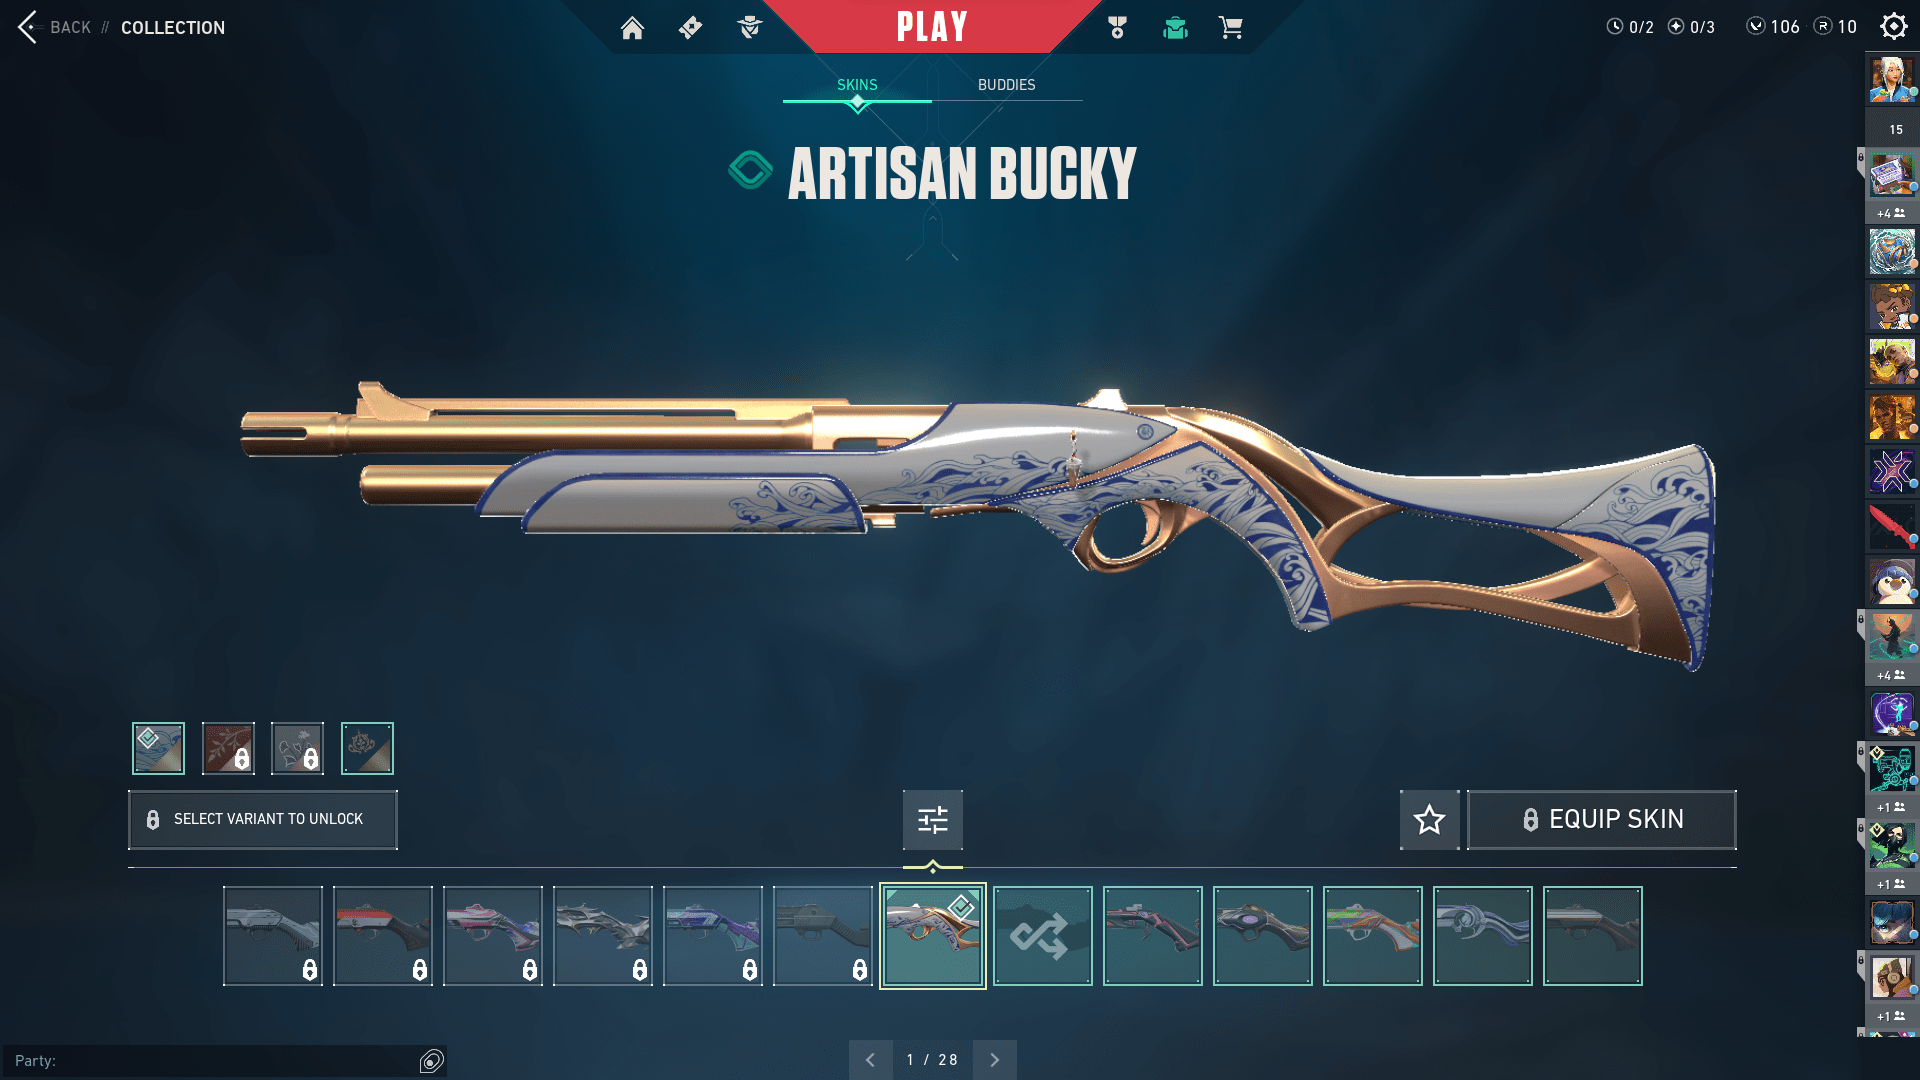
The Bucky is a pump-action shotgun and the game’s cheapest major weapon, costing only 850 Creds. It has a standard primary fire for close range and a focused pellet secondary fire for improved efficacy at short-to-medium ranges. The secondary firing mode decreases the number of pellets from 15 to 5, but it is intended for targeting enemies more than 8 meters away.
Although the Bucky can only fire 1.1 rounds per second, it can reload one shell every 0.5 seconds. As a result, reloading a shell between bullets increases your damage output. Expectations for an 850 Credit gun aren’t great, as the Bucky is now stuck between the cheaper Shorty and the superior Judge. Only use the Bucky if you are confident in close-quarters kills and have a limited budget.
Here’s a damage breakdown for the Bucky:
| Distance | Head | Body | Legs |
| 0 ~ 8m | 40 | 20 | 17 |
| 8m ~ 12m | 26 | 13 | 11 |
| 12m ~ 50m | 18 | 9 | 7 |
Judge
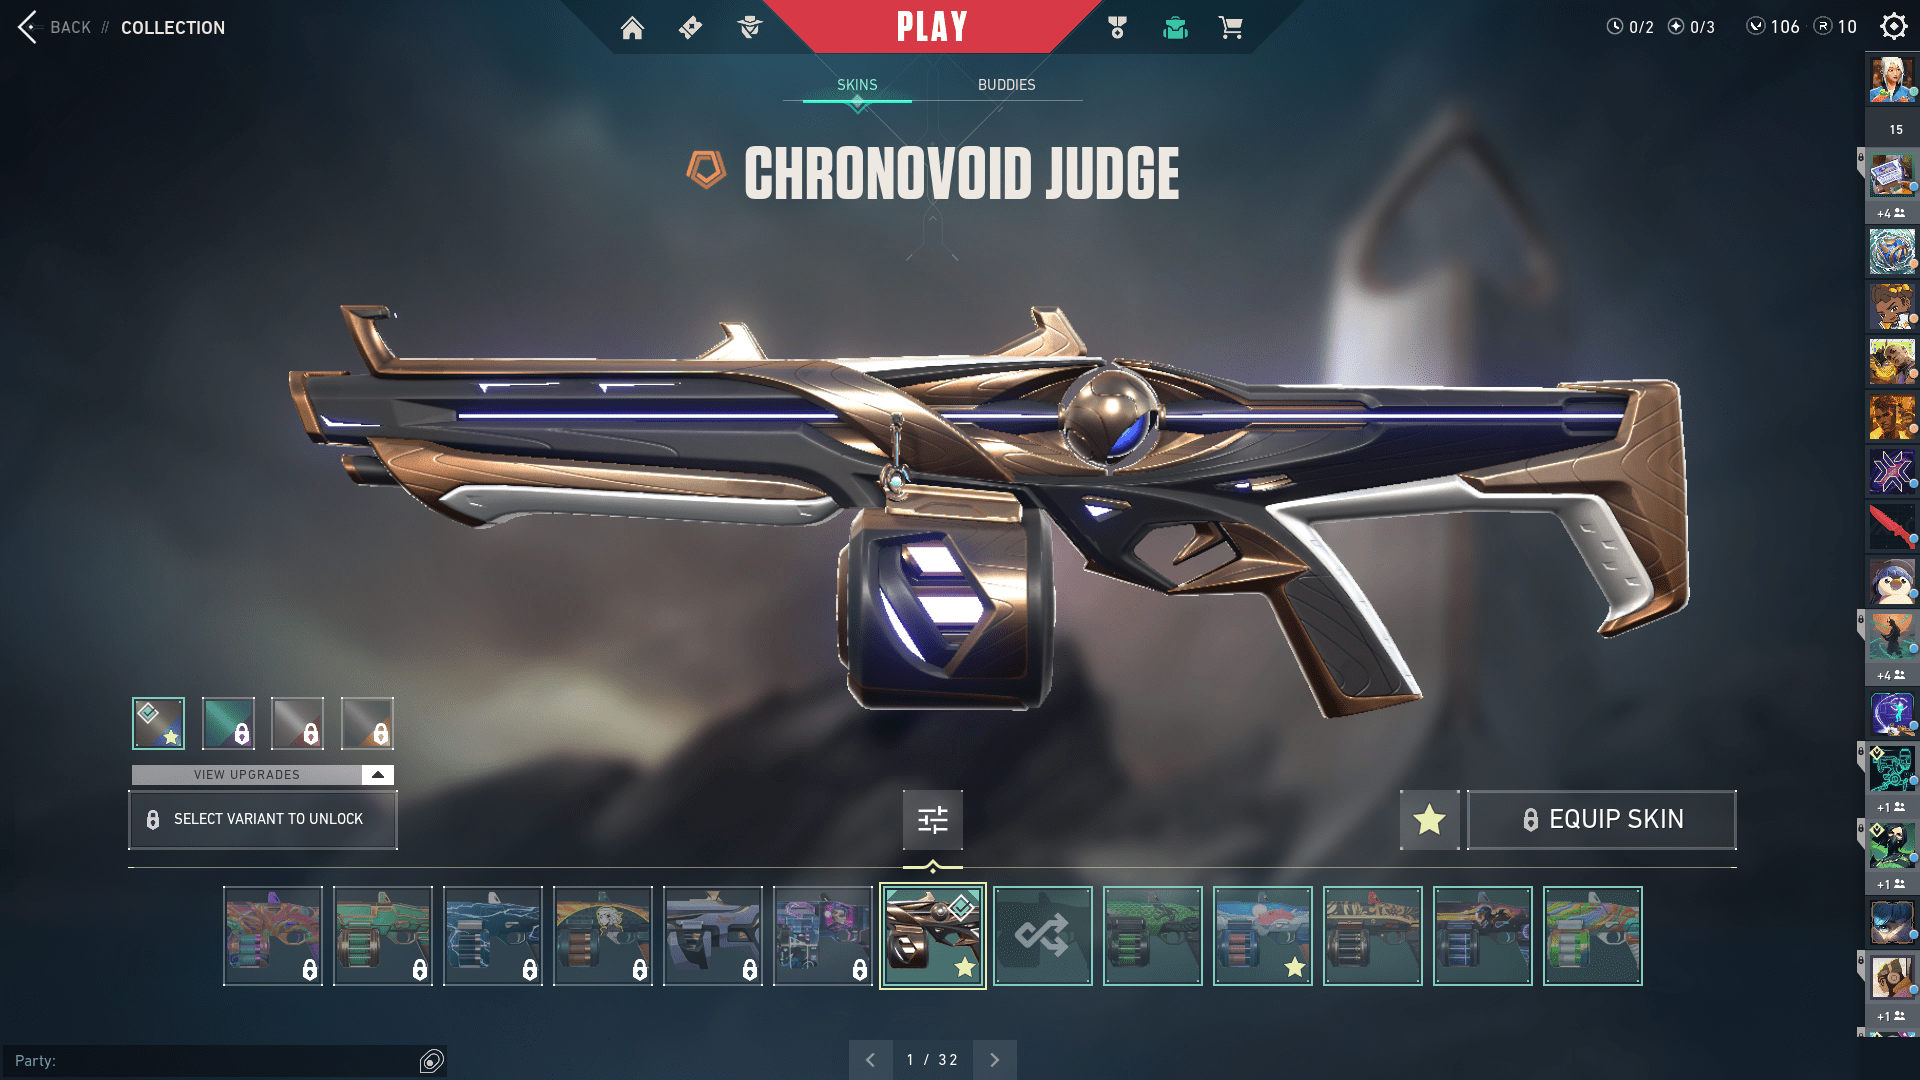
The Judge is a rapid-firing automatic shotgun that excels at dealing with several threats at close range. It is most effective inside 10 meters, like with all shotguns, and becomes more ineffective beyond 15 meters. Its 1850 Creds price tag is justified by its 3.5 rounds of 12 pellets per second and 7-round magazine.
The Judge is most effective on defense, maintaining a tight angle that allows numerous foes to pass through. Because it is an automatic shotgun, shooting at the upper torso from enemy to enemy would suffice.
Here’s a damage breakdown for the Judge:
| Distance | Head | Body | Legs |
| 0 ~ 10m | 34 | 17 | 14 |
| 10m ~ 15m | 20 | 10 | 8 |
| 15m ~ 50m | 14 | 7 | 5 |
Rifles
Bulldog
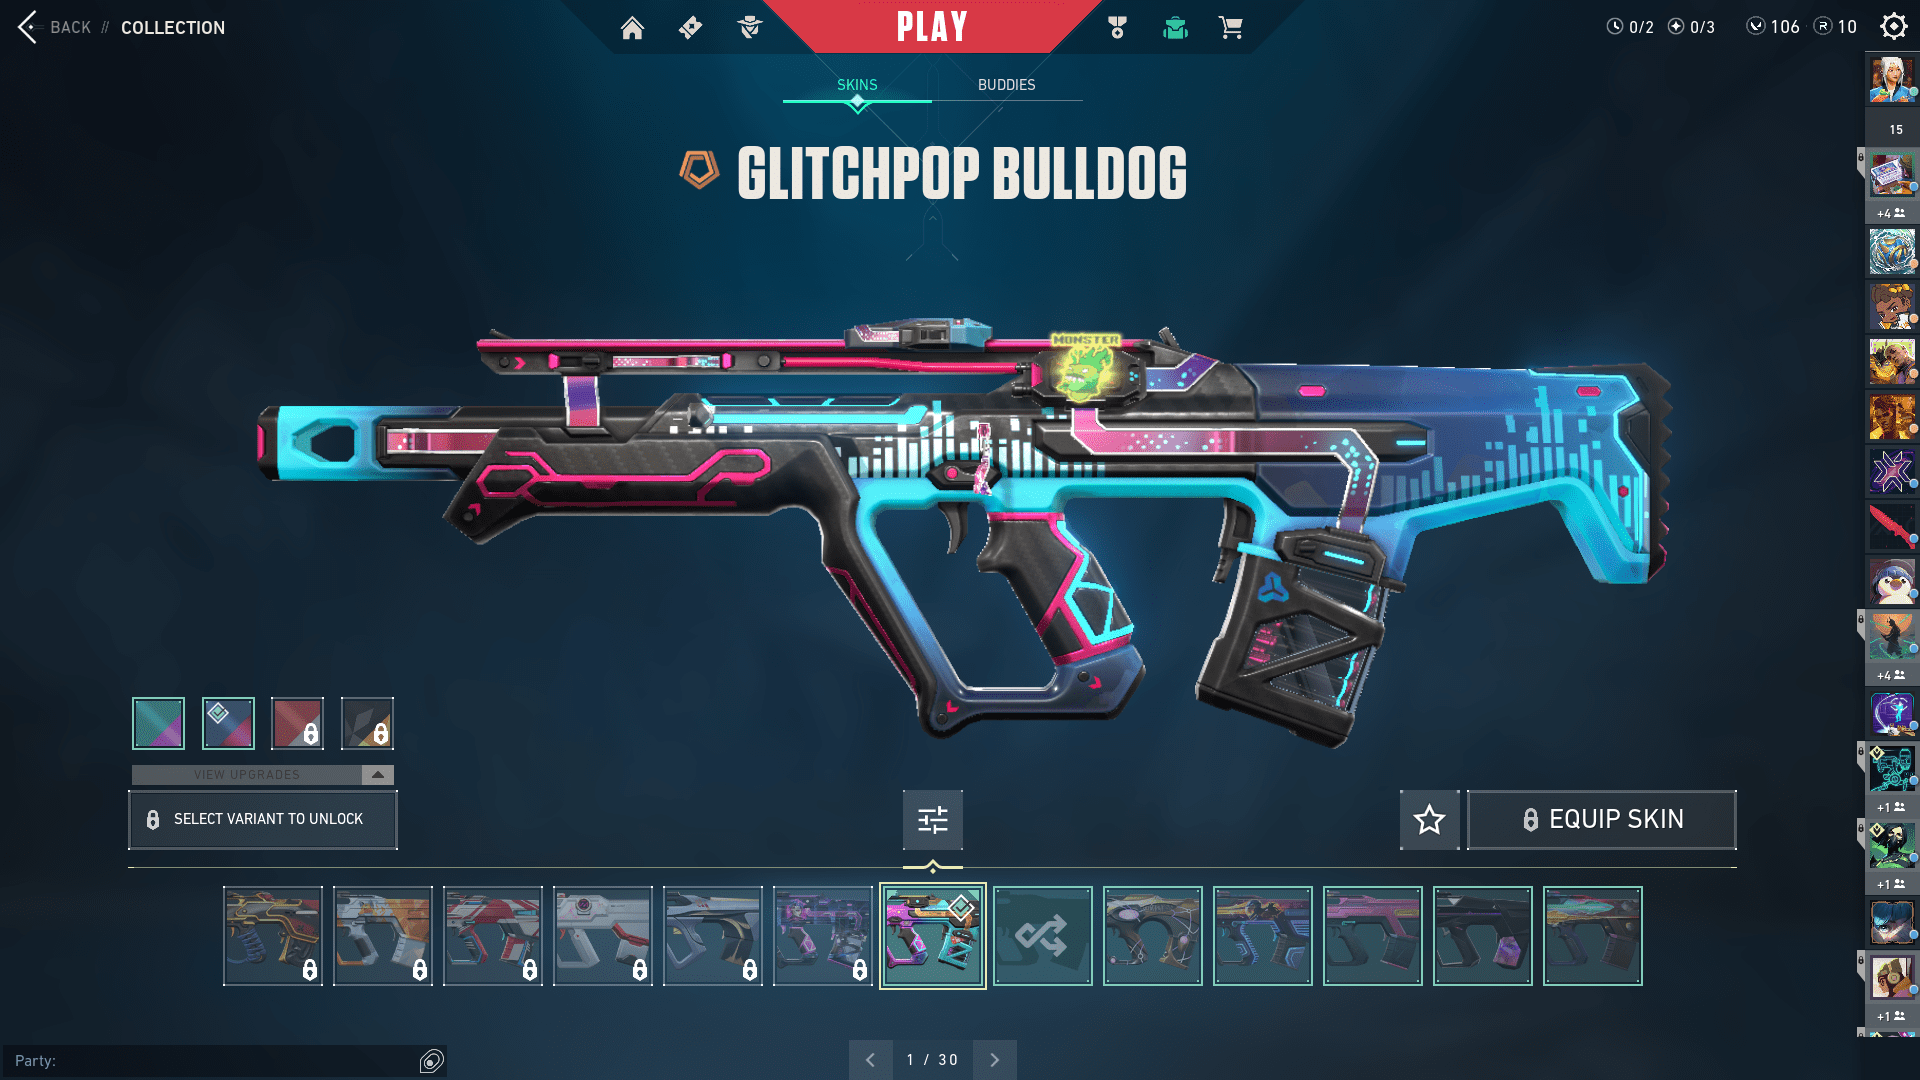
The Bulldog is the most affordable rifle with good damage and ease of use. The Bulldog, like the Stinger, features an automatic primary firing and a semi-automatic burst secondary fire. While aiming down sights, the secondary firing mode is triggered, letting you fire three-round bursts with decreased spread and recoil but a slower rate of fire. It has no damage falloff and deals the same amount of damage over all distances.
The Bulldog is best utilized as a “filler” gun, hoping to upgrade to a stronger rifle eventually. If you are not as wealthy as your teammates, the Bulldog can be beneficial on a Force or a Full Buy.
Here’s a damage breakdown for the Bulldog:
| Distance | Head | Body | Legs |
| 0 ~ 50m | 115 | 35 | 29 |
Guardian
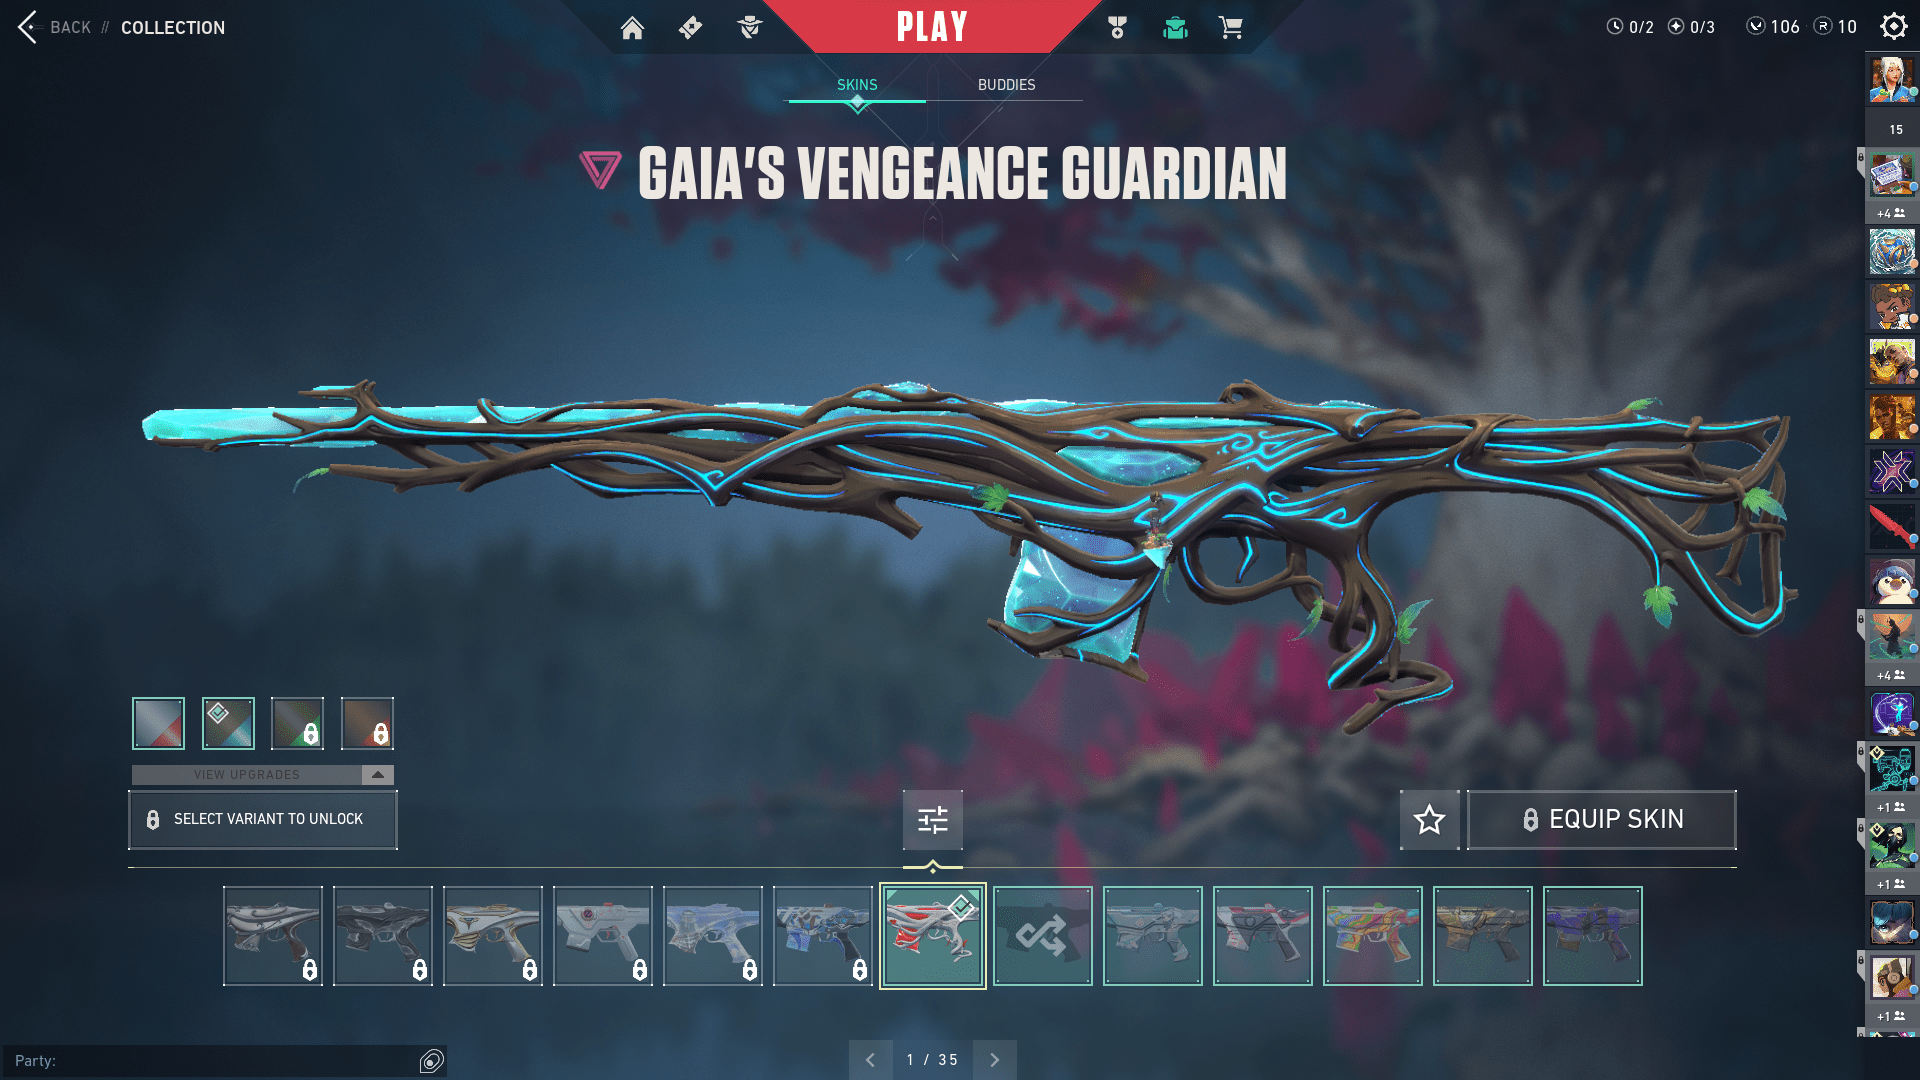
The Guardian is a precision semi-automatic rifle. Its niche fills the long-range rifle job better than a Sniper Rifle. It has a slow rate of fire but good accuracy and is intended to strike headshots. Most significantly, the Guardian does the same damage regardless of distance.
We recommend using this weapon to aim down sights and decrease spread and recoil while enhancing accuracy. Purchase this weapon on Force or Half Buys for 2250 Creds, but consider upgrading to a Phantom or Vandal for increased firing rates or an Operator for superior damage.
Here’s a damage breakdown for the Guardian:
| Distance | Head | Body | Legs |
| 0 ~ 50m | 195 | 65 | 49 |
Phantom
The Phantom is one of the game’s two main automatic weapons, the other being the Vandal, and both are worth 2900 Creds. The Phantom has a faster rate of fire, a larger magazine than its competition, and a silencer for greater smoke-spamming. Aiming down sights slows its firing rate by 10% but also reduces spread and recoil.
Here’s a damage breakdown for the Phantom:
| Distance | Head | Body | Legs |
| 0 ~ 15m | 156 | 39 | 33 |
| 15m ~ 30m | 140 | 35 | 29 |
| 30m ~ 50m | 124 | 31 | 26 |
Vandal
The Vandal is the other half of the two main rifle choices, with a price of 2900 Creds. It fires slower than the Phantom (9.75 rounds per second versus 11 rounds per second) and has fewer bullets per magazine (25 instead of 30). It has the same effects as pointing down sights, with a 10% slower firing rate but a more controlled spread and recoil.
However, it deals equal damage no matter the distance from your enemy. Using the Vandal would greatly benefit you if you’re particularly confident in landing headshots or plan to engage with enemies from afar.
Here’s a damage breakdown for the Vandal:
| Distance | Head | Body | Legs |
| 0 ~ 50m | 160 | 40 | 34 |
Sniper Rifles
Marshal
The Marshal is a 950 Cred Sniper Rifle with a lever action. It is completely precise when pointing down sights, but it is also quite accurate when not scoped in. While every other gun’s zoom may boost sight by 1.2x, the Marshal’s sole zoom setting boosts eyesight to 3.5x. Its low cost makes it ideal for any Force, Light, or Half buy round. The Marshal can fire 1.5 rounds per second, has a magazine with five bullets, and reload a bullet in 0.5 seconds.
The Marshal is a great gun if you’re trying to practice sniping. It is highly effective against unarmored enemies, being able to one-shot when you hit the head or the body.
Here’s a damage breakdown for the Marshal:
| Distance | Head | Body | Legs |
| 0 ~ 50m | 202 | 101 | 85 |
Operator
The Operator is the game’s most costly and powerful weapon. It costs 4700 Creds but compensates by killing an adversary in one hit from any distance. To balance things out, the Operator has a sluggish 0.6 rounds per second shooting rate, a 3.7-second reload time, and the slowest mobility speed in the game at 5.13 meters per second.
Because the Operator is such a high-risk, high-reward gun, it’s generally accepted that only one person should use it at a time. Although if you’re on Defense, going for a double Op is acceptable if they cover different sections of the map.
Here’s a damage breakdown for the Operator:
| Distance | Head | Body | Legs |
| 0 ~ 50m | 255 | 150 | 120 |
Machine Guns
Ares
The Ares is a machine gun that becomes more precise the longer the trigger is kept down. There are over 4 seconds of continuous firing with 50 bullets per magazine and a fire rate of 13 rounds per second. With its sluggish movement, equip, and reload capabilities, this 1600 Creds gun is best suited for defense. Its merits include its strong wall penetrating capabilities and rapid rate of fire, which allows you to hold down a location if necessary.
Given its spread and recoil, we don’t recommend using the Ares for long-range fights. You can use it as a budget for Odin and wallbang places like Ascent B Site Defense.
Here’s a damage breakdown for the Ares:
| Distance | Head | Body | Legs |
| 0 ~ 30m | 72 | 30 | 25 |
| 30m ~ 50m | 67 | 28 | 23 |
Odin
The Odin is the superior and more costly Machine Gun, costing 3200 Creds. Its powerful wallbang capabilities, quick rate of fire, and tremendous damage output make it an excellent defensive weapon. Continuous firing from its 100-bullet magazine causes its fire rate to increase from 12 to 15.6 rounds per second. The disadvantage is that its reload time is the slowest in the game, at 5 seconds.
With a moving speed of 5.13 meters per second, you should stay as still as possible when using the Odin. On Defense, use the powerful wallbanging abilities and large magazine capacity to keep the opponent at bay or shoot classic cover places on retakes.
Here’s a damage breakdown for the Odin:
| Distance | Head | Body | Legs |
| 0 ~ 30m | 95 | 38 | 22 |
| 30m ~ 50m | 77 | 31 | 26 |
Let us know in the comments below which of these is your to-go gun!
Top up your VALORANT points today through Codashop. We offer a plethora of convenient and secure top-up methods to ensure that you get the skins you’ve been eyeing!


