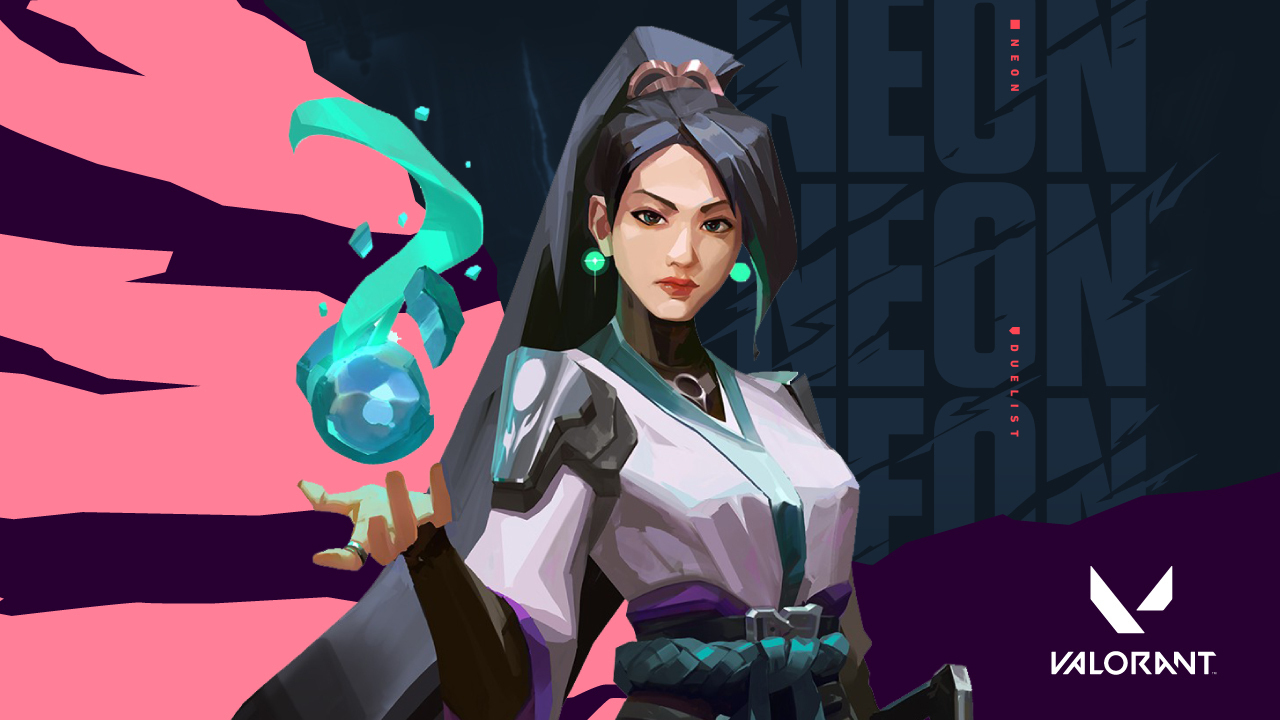
 Ling Ying Wei, better known as Sage, is the seventh recruit for the VALORANT Protocol and is known for walls, slows, and the abilities to heal and revive teammates. Although she has a reputation of sorts for being chosen by newbies in the game, don’t let that fool you. Sage has a kit that, if used correctly, can allow her to play aggressively and even get top frag.
This guide will cover her skills, her team synergies, and tips and tricks to get more wins.
Abilities
Sage is a Sentinel, whose expertise lies in defending and locking down areas and supporting allies. She is also usually lagging behind the team to watch flank and offer to heal when an ally’s HP is dangerously low.
Although she suffered nerfs in the latest update, she still proves to be valuable to the team. Let’s take a closer look at her abilities.
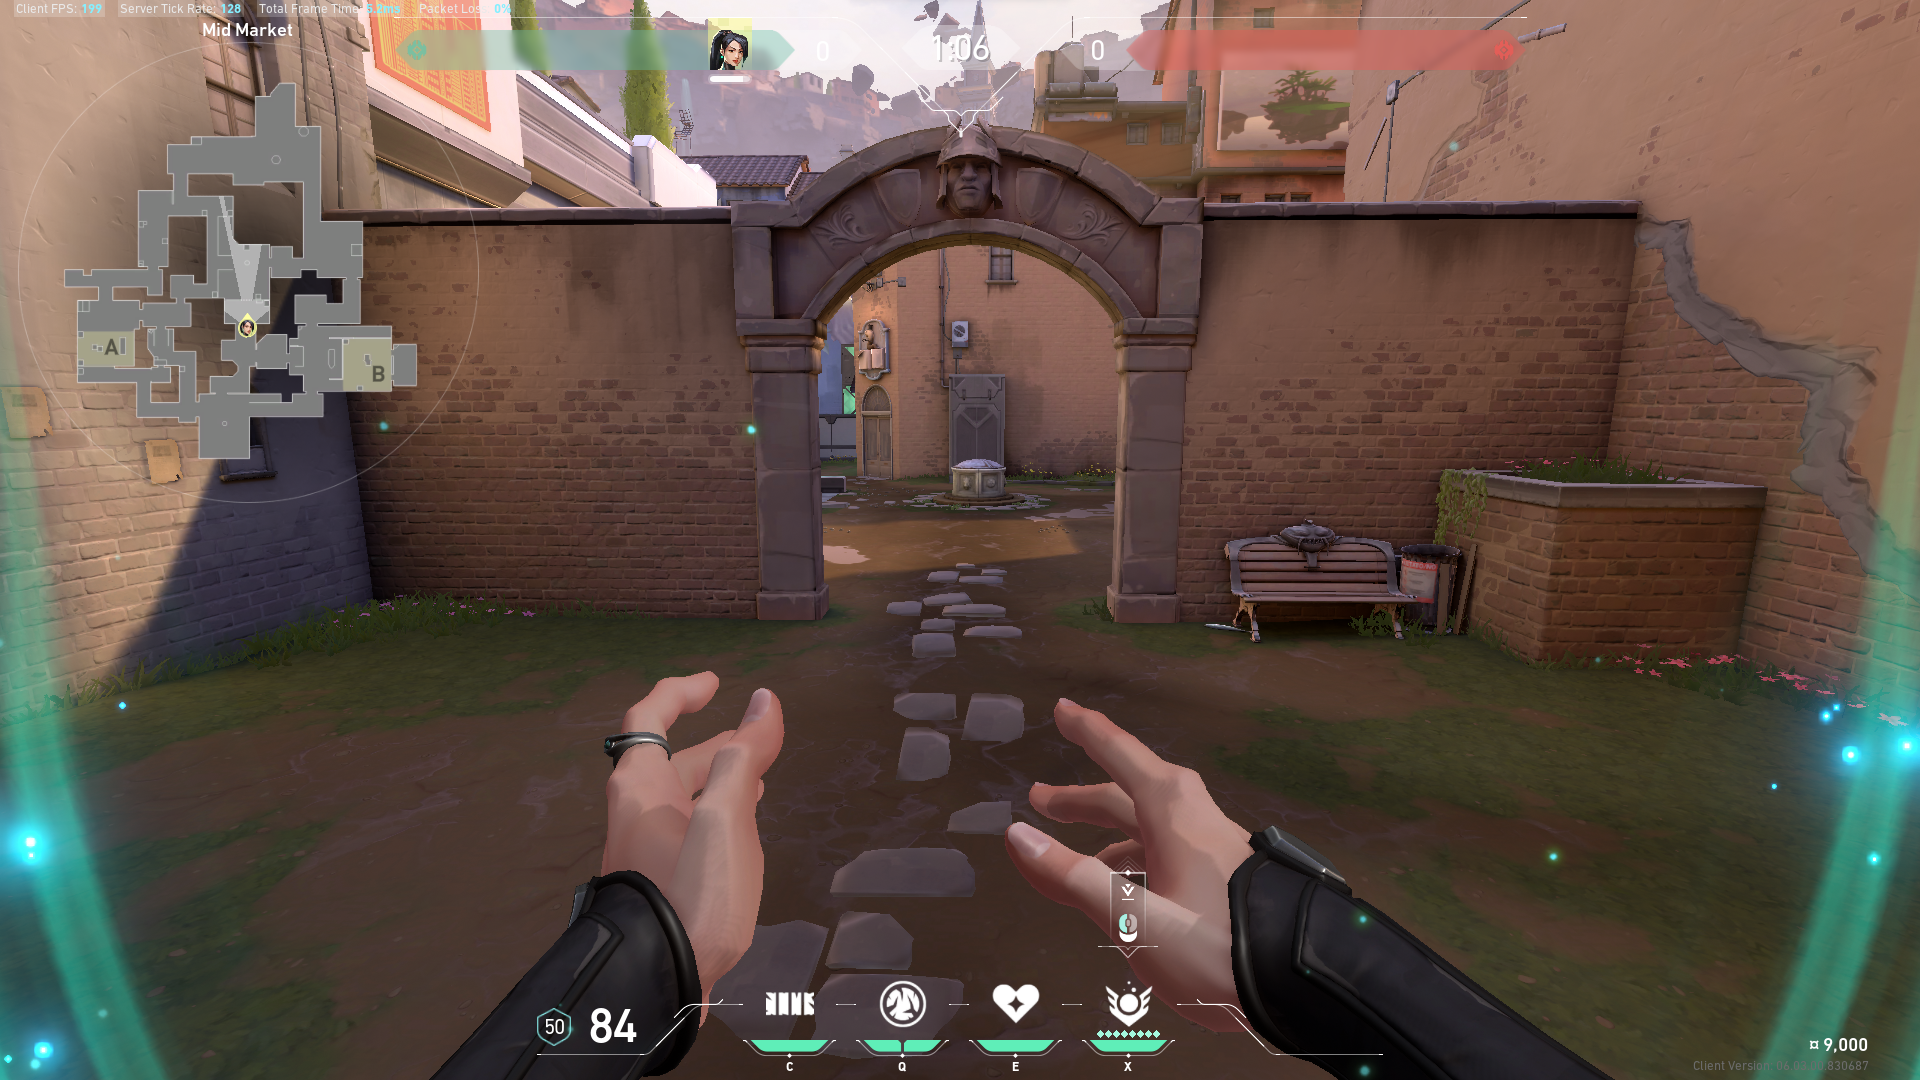
Barrier Orb
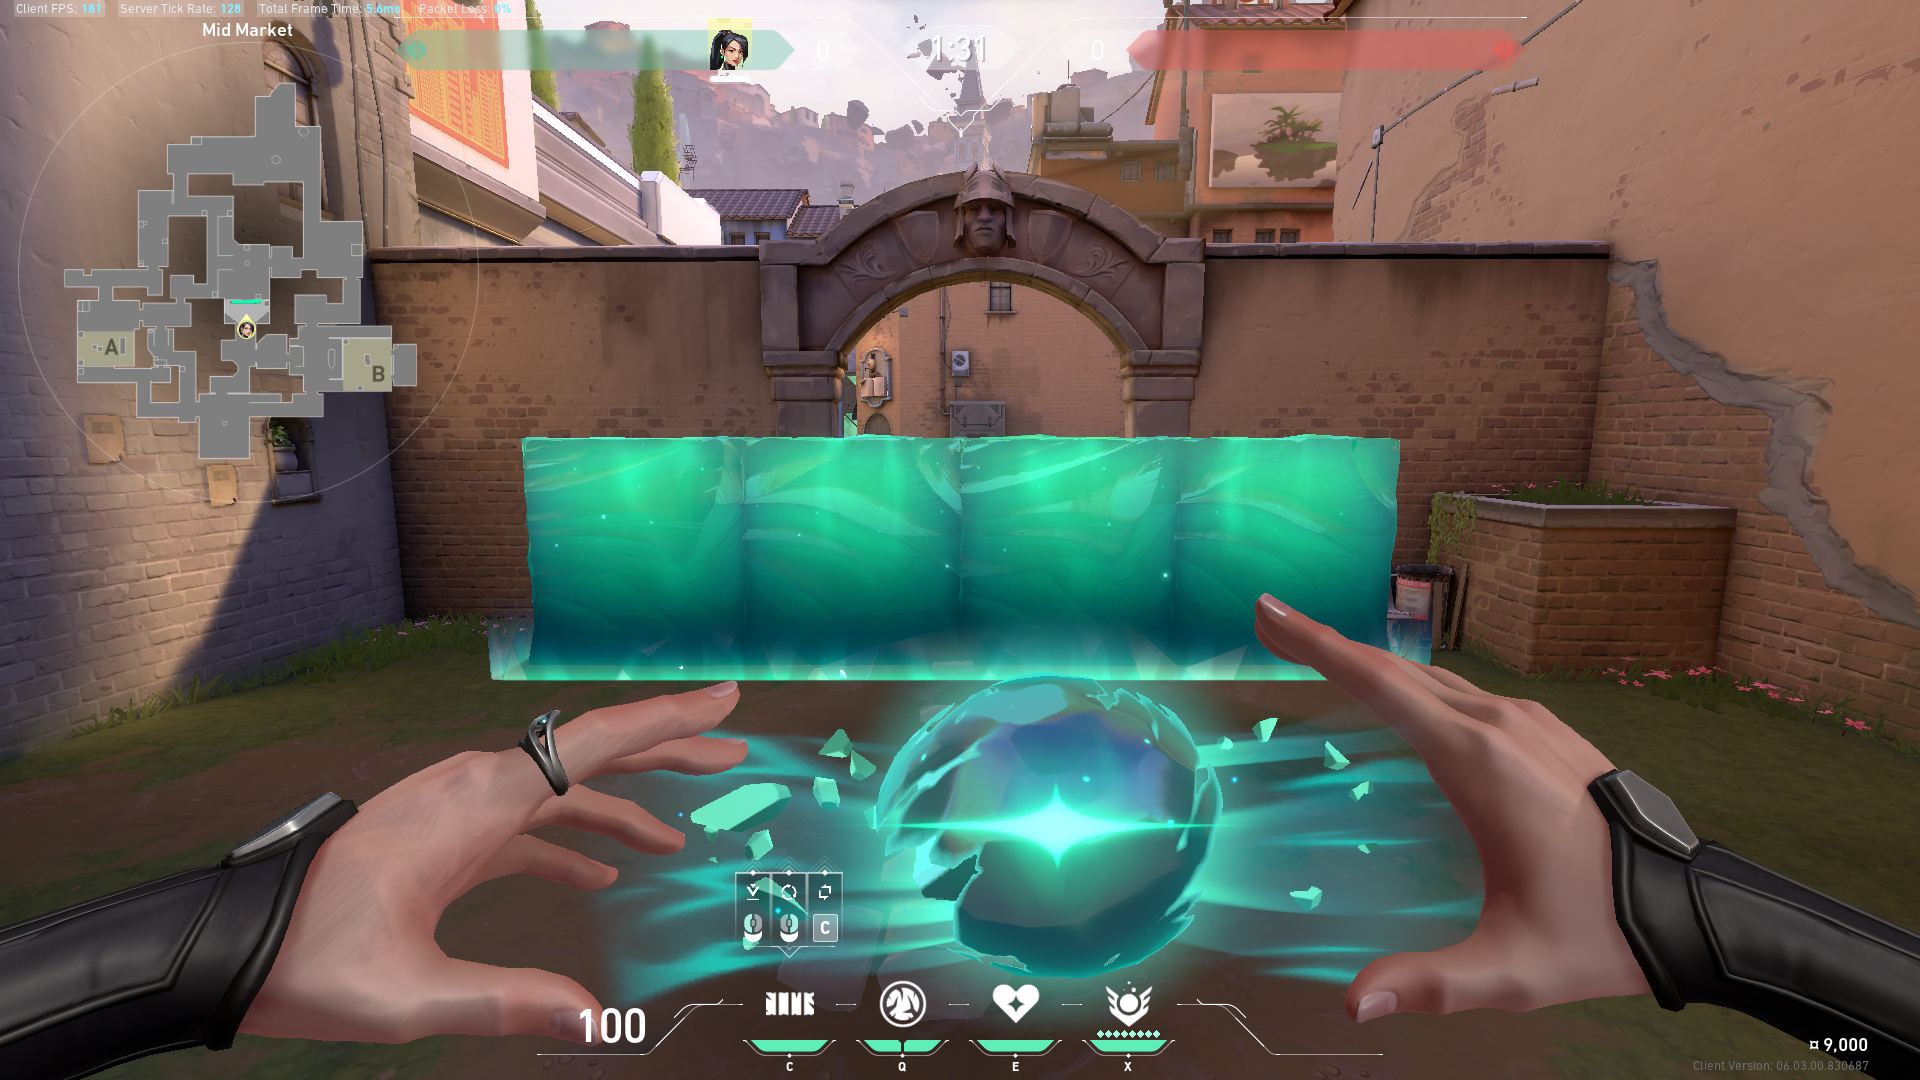
- Barrier Orb (C) is a wall that blocks adversaries’ eyesight and can close an area’s entry. Players frequently use it at the start of games, which is not the best strategy, especially on smaller maps. Avoid putting up your wall until you have information or sound cues, as it only lasts 40 seconds. Enemies frequently wait for the wall constructed at the start to fall before initiating their push.
Slow Orb
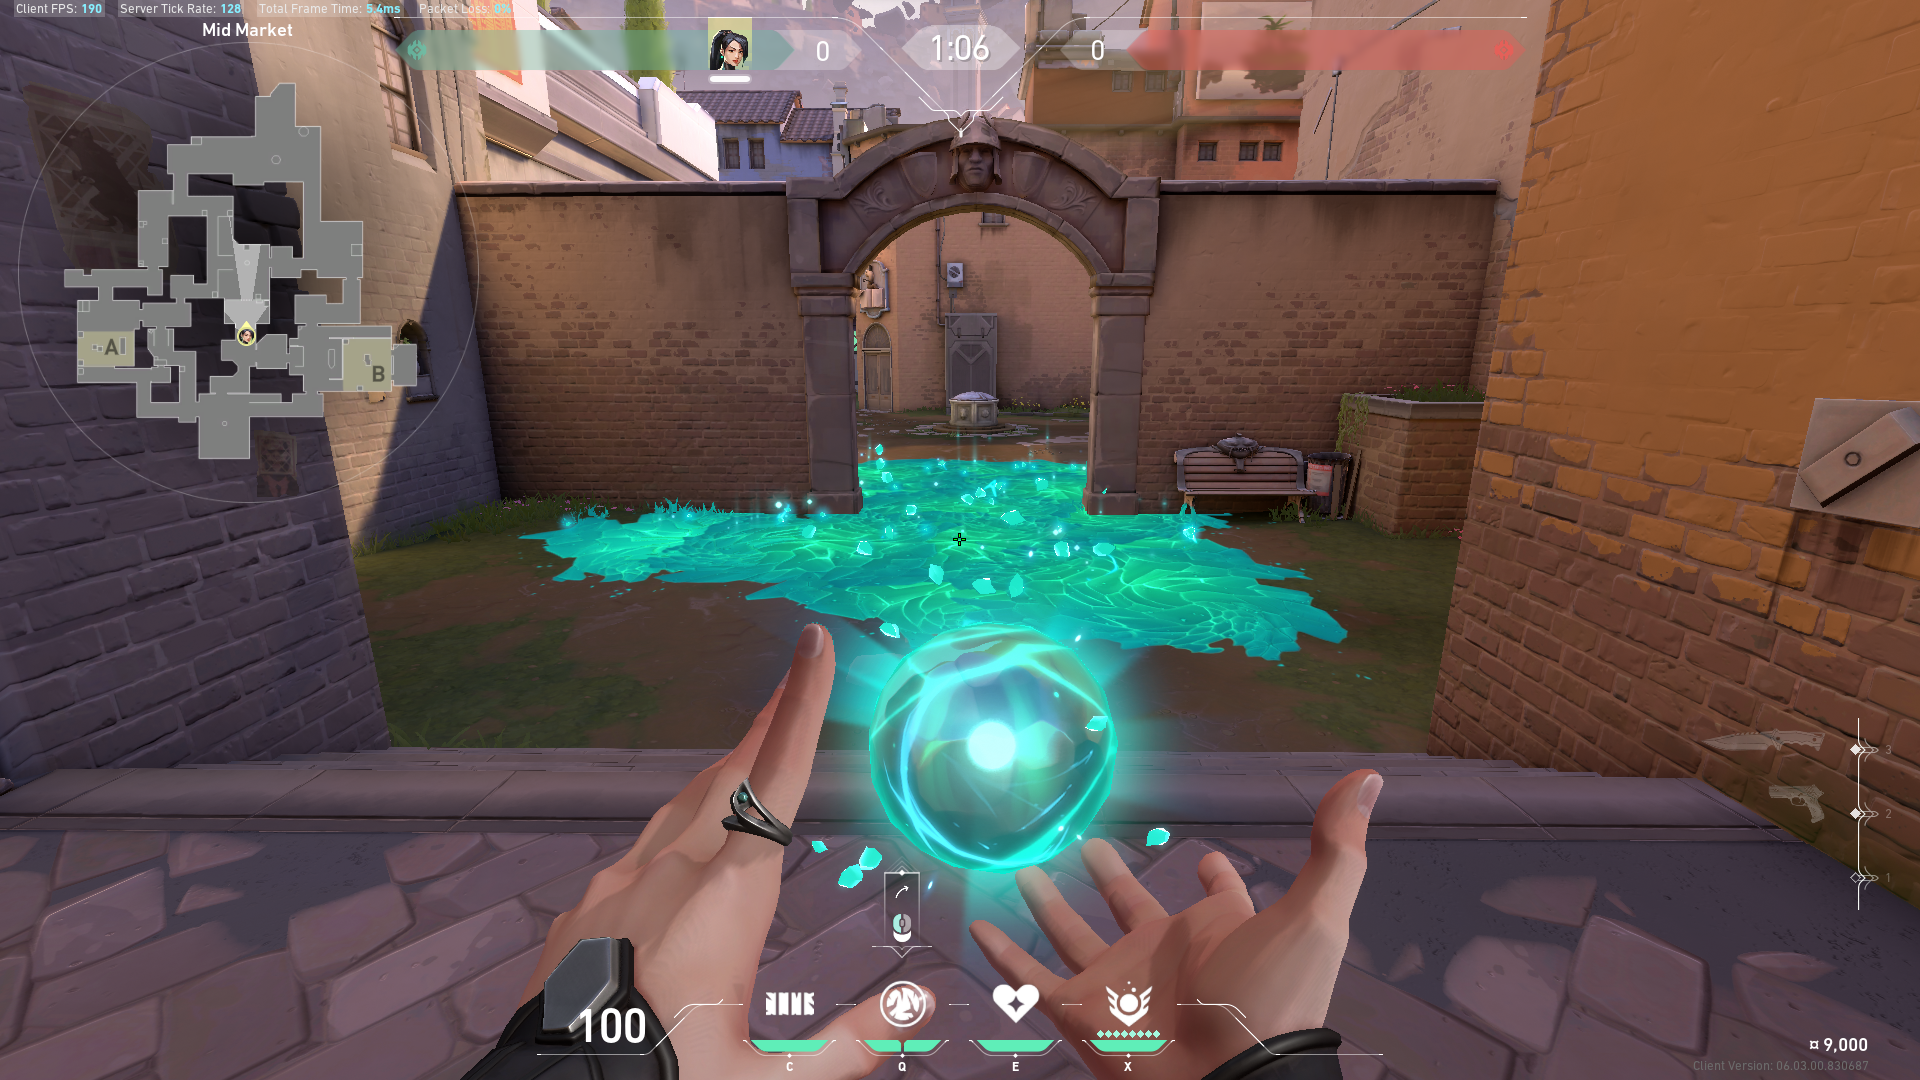
- Slow Orb (Q) is another one-of-a-kind ability in VALORANT that causes no damage but slows foes. Throwing it without information is not advised since they are useful against enemies pushing site or rushing to kill you.
Healing Orb
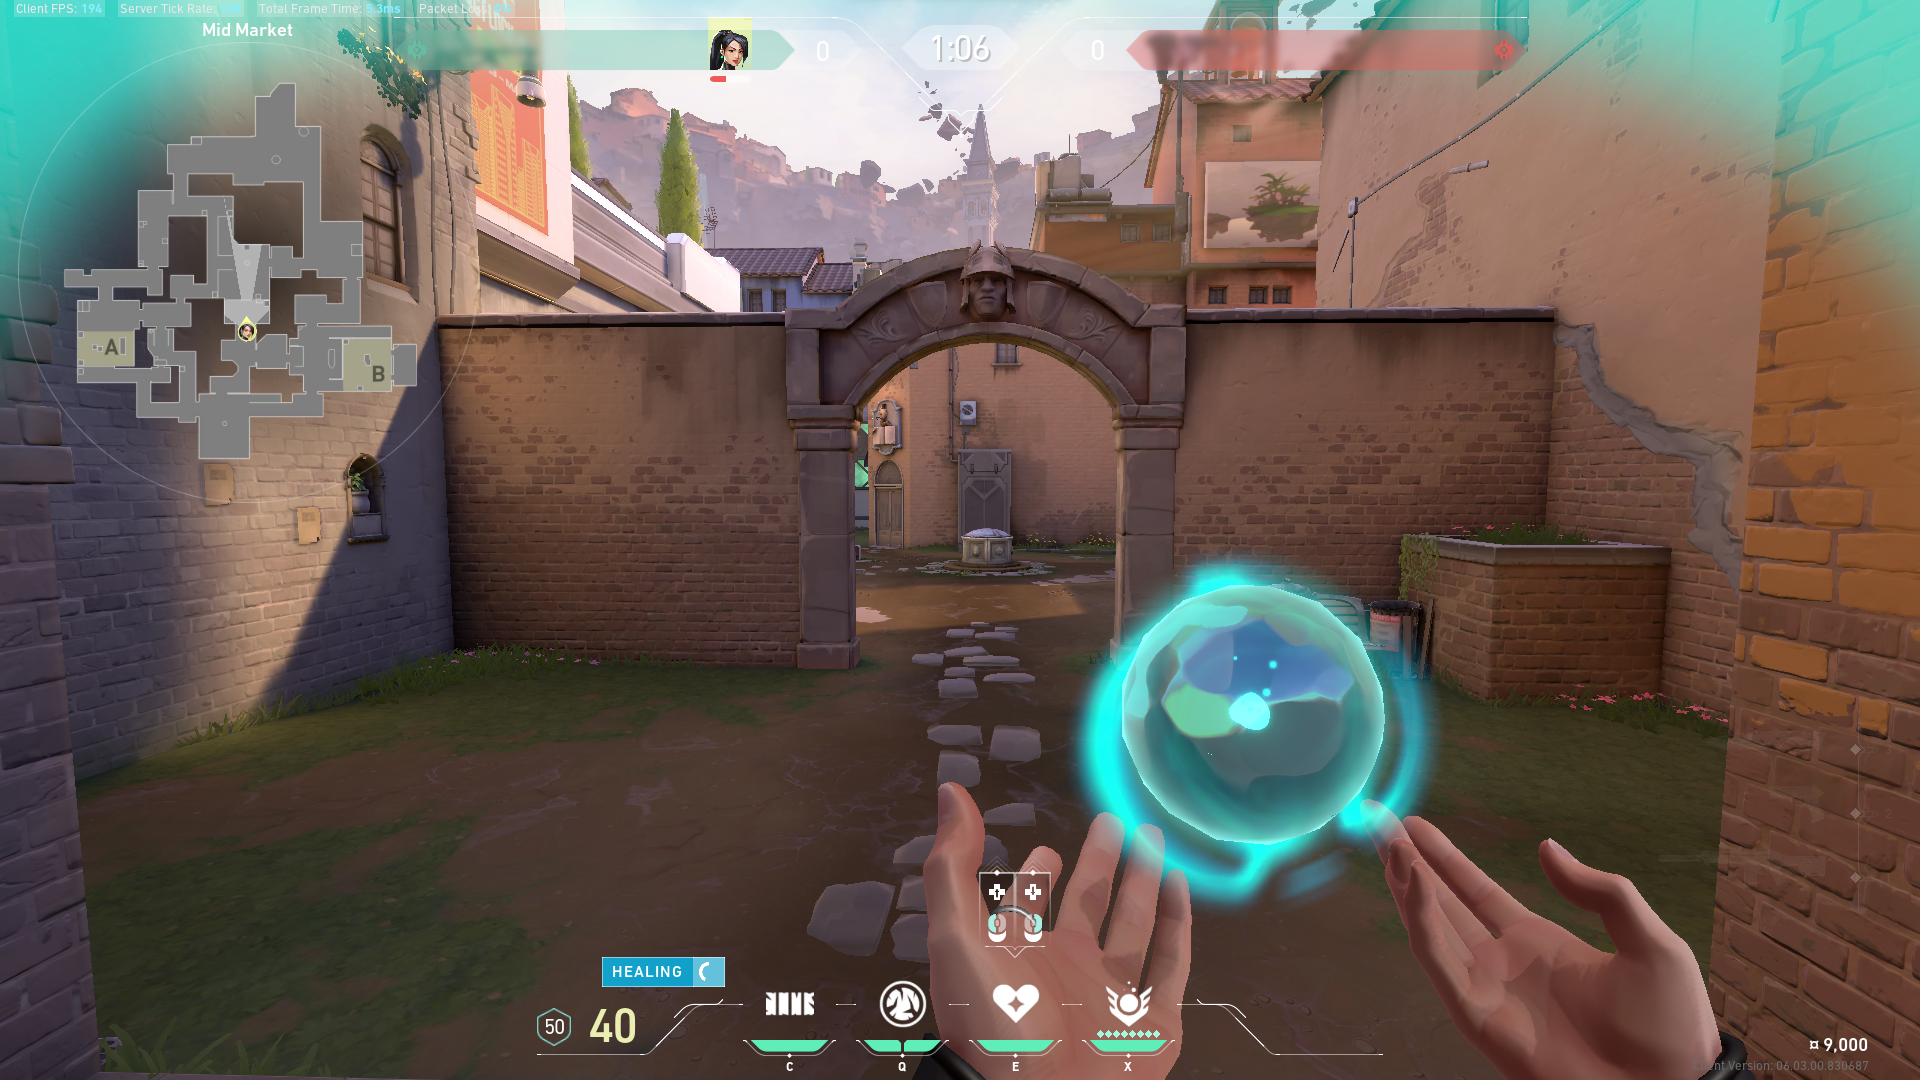
- Sage’s selling point before Skye joined the lineup was Healing Orb (E). Nonetheless, her recovery may be quite beneficial when used correctly, as you can help allies pick and survive fights.
Ultimate: Resurrection
- Resurrection (X) isn’t cheap; it costs 8 points, so make the most of it. This ultimate may be a game changer, but leaving it for last is sometimes a bad idea. As soon as your ultimate is used, try to revive a teammate, especially when things aren’t in your favor. You can request protection to gather up ult orbs early in the round to activate Resurrection early.
VALORANT Sage Tips
- Sage’s role as a Sentinel is strategizing on the backlines and helping teammates. So, while your duelists are fighting, check their health bars and provide healing as needed. (Or, you know, become a Battle Sage and use the heal on yourself!)
- Do note that Sage’s Healing Orb deals different amounts of healing when you heal your teammates versus yourself. If you heal your teammates, they get 100 HP back. If you heal yourself, you just get 30 HP. (I know, unfair.)
- If you have information on your enemies’ position or hear them trying to take site, use the Slow Orb along with Viper’s Snakebite or Brimstone’s Incendiary to slow and damage them simultaneously. The slow will prevent your enemies from making a quick escape; if you’re lucky, they might just succumb to death if the molotov dealt enough damage.
- The Barrier Orb is useful for elevating teammates to take advantage of awkward angles. Sage has several defensive purposes but is also effective on the offensive side. Place your wall at unexpected angles to access high locations and catch your opponents off guard. It’s a simple method to boost your kill total! (Think Grim walls!)
- When using Resurrection, don’t forget the long animations. Make sure you’re resurrecting your teammates in a safe place. If that isn’t possible, make sure someone is covering you and the reviving teammate. (But if you’re anything like me, reviving someone just to be a meat shield also works. I don’t recommend doing this when you’re in solo queue!)
Best and Worst Maps for Sage
This is rather hard because Sage is viable everywhere, especially when the player behind Sage knows what they’re doing. Most maps also allow Sage to use her skills everywhere, whether on Ascent A Main or Lotus’ three sites.
All of VALORANT’s maps have choke points and hallways that Sage’s walls can cover with no problem. Her slow orbs can be used anywhere if you intend to slow down enemies and pick them off while they’re trying to run. Not to mention, her Healing Orb and Resurrection are not map-specific skills.
However, if there is one map where Sage is at a disadvantage, that would be Breeze. This map has many wide open spaces that Sage’s wall cannot cover, especially on the Attacking side. Although there are nifty spots that Sage can cover, it will just be gunned down by Defenders, and you’ll be stuck scrambling for a better angle to hold.
Best and Worst Agent Compositions for Sage
It’s always best to balance out team compositions. If you’re planning to play Sage, especially in solo queue, make sure you can still bounce off your teammates. Here are some team comps that work really great with Sage:
- Sage, KAY/O, Reyna, Astra, Cypher
- Sage, Skye, Reyna/Jett, Breach, Brimstone
- Sage, Fade, Jett, Omen, Killjoy
It’s important to remember that as Sage, you should prioritize supporting teammates through your heals. By having a Duelist and Controller in the team, there will be someone to push site and deny enemy info, allowing you to safely plant the spike (‘cause, you know, the Sage always gets the bomb).
On the Defender’s side, it’s fun to play off of another Sentinel—especially on maps where there are three bomb sites. Your team would be able to guard two sites, or the Sentinels can completely lock down a site and deny entry.
Meanwhile, here is possibly the worst lineup when using Sage:
- Sage, Raze, Breach, KAY/O, Skye
In this lineup, there are no Controllers. Sure, the flashes of Breach and KAY/O could help when pushing onto site, but smokes last longer. They also provide the cover needed to safely take control of site. It’s always preferable to have smokes in your team comp!
As for Raze, she lacks vision-blocking skills or smokes, which makes it hard for teams to push on site. However, if the player behind Raze shows off some great movement with her Blast Pack, it would be a lot easier to push onto site even without smokes.
Synergies
Sage Slow Orb + Sova Hunter’s Fury
For the defending side, this combo is great for preventing enemies from pushing aggressively onto the site. It can work in maps like Ascent, Icebox, Fracture, and Lotus, with many tight corners and corridors the enemies could push. Once you have the information, throw Sage’s Slow Orb before activating Sova’s ultimate to ensure your enemies don’t get the chance to run away.
For Attackers, this combo is great for post-plant situations. Try to buy as much time as possible with Sage’s slow orbs, and if you hear the enemies diffusing the spike, pop out Sova’s ultimate.
Sage + Jett
This pairing is one of, if not the most popular duos you can encounter in Valorant. Jett can benefit from Sage’s wall boosts, allowing her to updraft to normally unobtainable positions and hold awkward but advantageous angles. Jett can also dash back to Sage and receive a heal after taking a few bullets, which can be frustrating to the opposing team.
Sage + Cypher
While Cypher and Sage may not be as successful in an offensive role as other duos, they can hold down sites pretty well. A Cypher main can easily hold a site on its own, but when combined with Sage’s Slow Orb and Barrier Orb, they can fully block a site.
Cipher can also identify flanking enemies with his tripwires, whereas Sage can readily cover other entrances to avoid being killed from behind.
Remember to top up your VALORANT Points at Codashop. We provide a quick and easy option to purchase VALORANT Points for a hassle-free gaming experience.


