Yoimiya was released in patch 2.0, earning mixed reactions from the fanbase since her kit wasn’t really as straightforward as other DPS characters. However, that doesn’t mean she’s a bad character to pull for. With her bubbly personality and love for fireworks, Yoimiya can be an amazing addition to your team roster! You just have to pull for her and give her a spin.
Yoimiya Spotlight
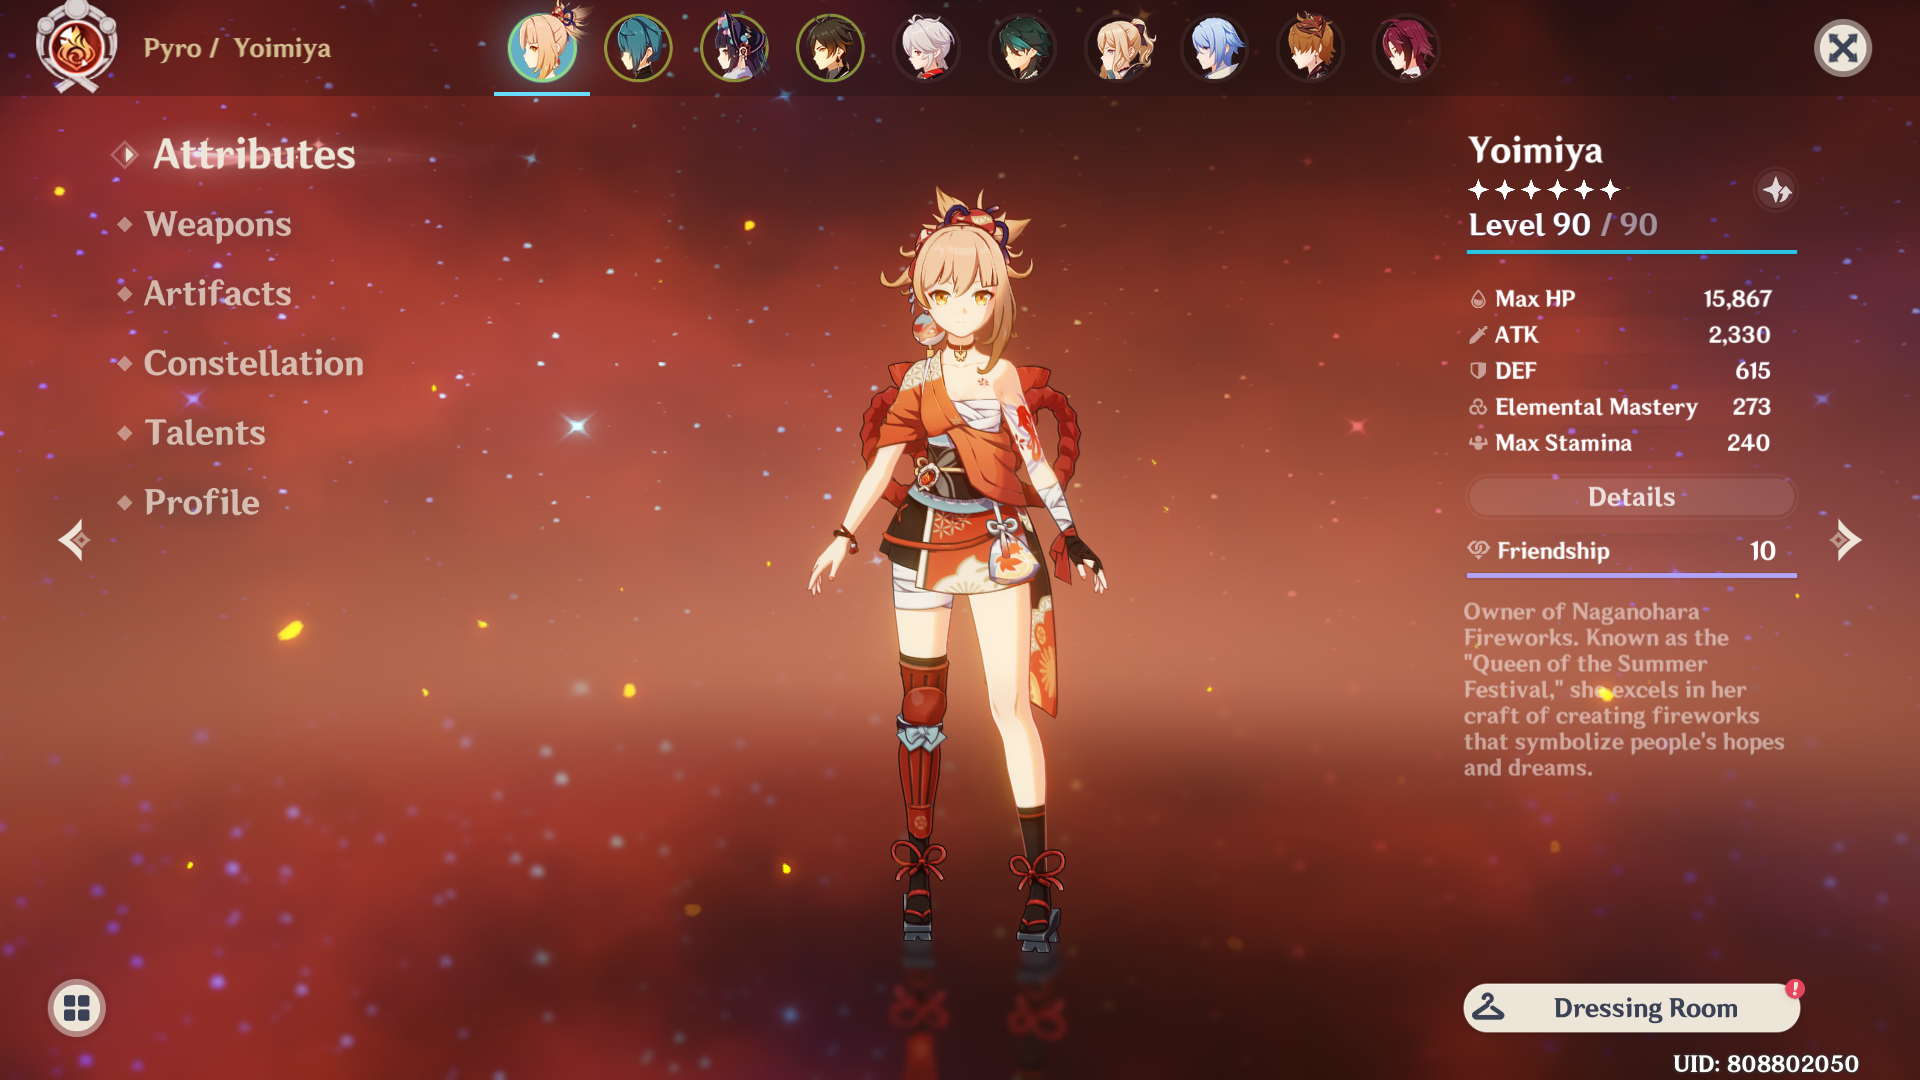
Yoimiya is the owner of the Naganohara Fireworks and is loved by the people on Narukami Island. She was dubbed the “Queen of the Summer Festival” since the people believed summer was not the same without her.
What’s tricky with Yoimiya is she seems easy to use. News flash: she’s not. While Yoimiya’s damage output is heavily dependent on her Elemental Skill, it is a misconception that she is easy to use by just spamming her normal attacks. In reality, using Yoimiya effectively requires a deeper understanding of her kit and how she synergizes with other supports in the team.
To maximize Yoimiya’s damage output, players must learn her attack patterns and incorporate interruption protection into their rotations. Without proper protection, Yoimiya’s DPS can suffer greatly if she gets interrupted mid-combo. Therefore, mastering Yoimiya’s playstyle requires careful consideration and strategy.
Yoimiya Overview and Role
Yoimiya’s here to be your bow DPS, specializing in delivering fast Normal Attacks and the occasional Pyro DMG from her Elemental Skill. Similar to Diluc, her critical hit rate scales as she levels up past 40, making her powerful even without any Elemental DMG. Yoimiya’s Elemental Skill not only increases her damage output but also imbues her normal attacks with Pyro. While it’s a straightforward skill with no fancy effects, its damage potential is quite high. However, the skill has a long cooldown timer, so it’s important to know how to make the most of Yoimiya’s other abilities and keep her busy during the wait.
Ascension Materials
Here are the materials you would need if you aim to raise Yoimiya up to level 90:
- Agnidus Agate Silver x 1
- Agnidus Agate Gemstone x 6
- Agnidus Agate Fragment x 9
- Agnidus Agate Chunk x 9
- Divining Scroll x 18
- Sealed Scroll x 30
- Forbidden Curse Scroll x 36
- Smoldering Pearl x 46
- Naku Weed x 168
Talent Materials
Here are the materials you need to farm if you want to triple-crown Yoimiya:
- Divining Scroll x 18
- Sealed Scroll x 66
- Forbidden Curse Scroll x 93
- Dragon Lord’s Crown x 18
- Teachings of Transience x 9
- Guide to Transience x 63
- Philosophies to Transience x 114
- Crown of Insight x 3
Pros & Cons
Pros
- Party members’ ATK buffed by Elemental Burst.
- Damage dealt from a safe distance.
- Effective against single-target enemies.
- Furnishing crafting refunds materials.
Cons
- The closest enemy is the target of Normal Attacks.
- Not recommended for battling multiple enemies alone.
- Personal ATK boost not applicable to herself through Elemental Burst.
Yoimiya Best Build & Weapon
Best Weapons
Thundering Pulse
- 5-star Bow
- Thundering Pulse is Yoimiya’s best weapon since it significantly boosts her attack. Not only does she get a 20% ATK boost, it can also grant her the Thunder Emblem. At stack levels 1/2/3, the Thunder Emblem can grant Yoimiya an increase in Normal DMG by 12/24/40%.
Polar Star
- 5-star Bow
- This is another great bow on Yoimiya since it can boost her Elemental Skill and Burst DMG. Once she deals a Normal Attack, Charged Attack, Elemental
Skyward Harp
- 5-star Bow
- The weapon provides a 20% increase in CRIT DMG. It also has a 60% chance of inflicting a small AoE attack with hits, dealing 125% of Physical ATK DMG, which can only occur once every 4 seconds.
F2P Substitutes:
Rust
- 4-star Bow
- This weapon effect grants a 40% increase in Normal Attack damage but reduces Charged Attack damage by 10%. It’s a great weapon for Yoimiya if you don’t have other bows since you need to capitalize on her Normal Attacks. Trust me, you won’t even notice the decrease in Charged attack.
The Viridescent Hunt
- 4-star Bow
- Although not really F2P since you’ll have to buy the Battle Pass, this 4-star bow is a great choice for Yoimiya as well due to its CRIT Rate substat. With this weapon, Yoimiya’s Normal and Aimed Shot Attacks have a 50% chance of generating a Cyclone upon hit. This Cyclone continuously attracts nearby opponents, dealing 40% of ATK as DMG to them every 0.5s for 4s. The effect can only happen once every 14 seconds.
Best Artifacts
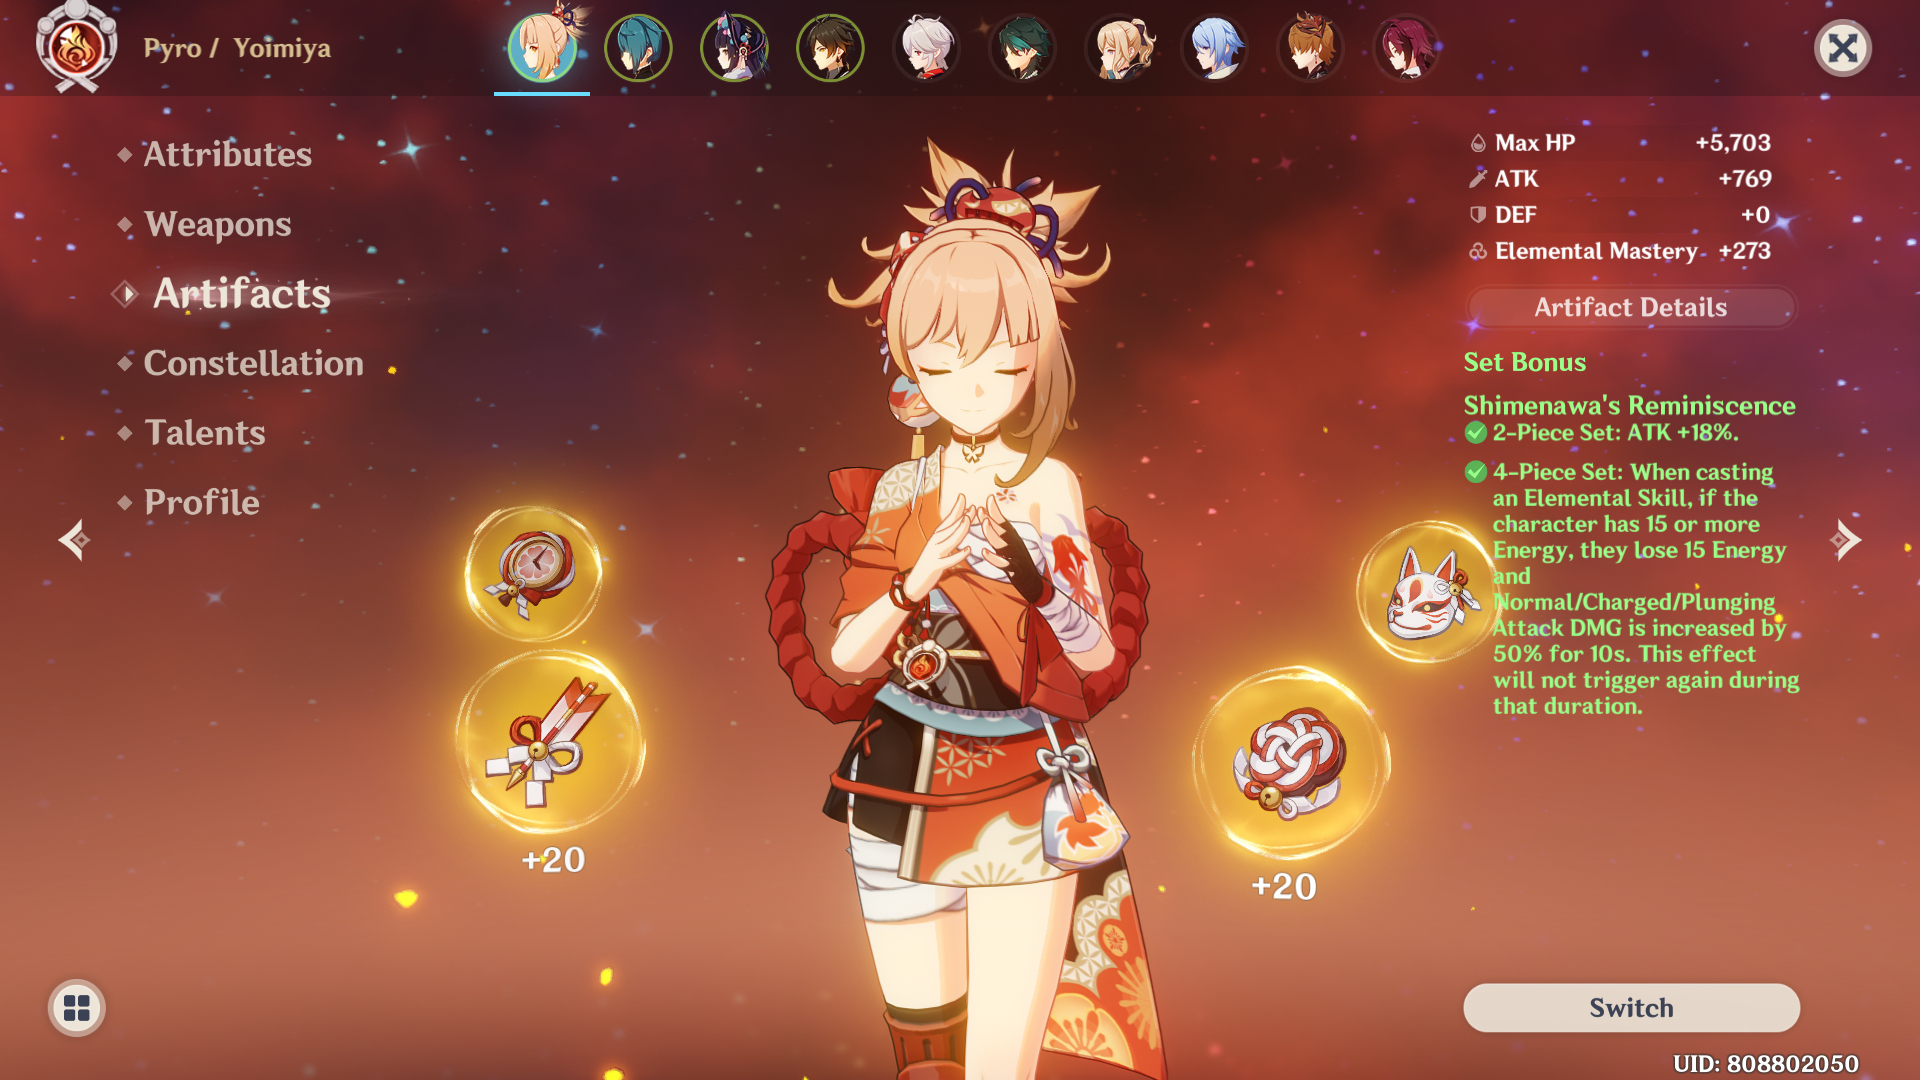
Shimenawa’s Reminiscence (4-pc.)
- Yoimiya can greatly benefit from this artifact set since the four-piece can amplify her Normal, Charged, and Plunging Attack damage by 50% for ten seconds upon using her Elemental Skill. It’s important to remember that using Yoimiya’s Elemental Skill frequently is crucial to maximizing the potential of this Artifact set.
Crimson Witch of Flames (4-pc.)
- This set may be beneficial when using Yoimiya in an elemental team to trigger reactions. This four-piece set enhances Melt and Vaporize reactions while also doubling the two-piece set effect, leading to a considerable Pyro damage bonus. This approach can be effective when relying on Yoimiya’s Elemental Skill to activate reactions.
2-pc. Shimenawa’s Reminiscence and 2-pc. Crimson Witch of Flames
- This isn’t really a recommended set, but only do this if you haven’t farmed for decent substats yet. What’s good about this combination is the 2-pc. Shimenawa’s Reminiscence gives you an 18% attack boost, while the 2-pc. Crimson Witch of Flames gives you an additional 15% Pyro DMG Bonus.
Artifact Stat Priority
Flower
- Main: Flat HP
- Sub: CRIT Rate / CRIT DMG / ATK% / Elemental Mastery / Energy Recharge
Feather
- Main: Flat ATK
- Sub: CRIT Rate / CRIT DMG / ATK% / Elemental Mastery / Energy Recharge
Sands
- Main: ATK%
- Sub: CRIT Rate / CRIT DMG / ATK% / Elemental Mastery / Energy Recharge
Goblet
- Main: Pyro DMG Bonus
- Sub: CRIT Rate / CRIT DMG / ATK% / Elemental Mastery / Energy Recharge
Circlet
- Main: CRIT Rate / CRIT DMG
- Sub: CRIT Rate / CRIT DMG / ATK% / Elemental Mastery / Energy Recharge
Yoimiya Talents
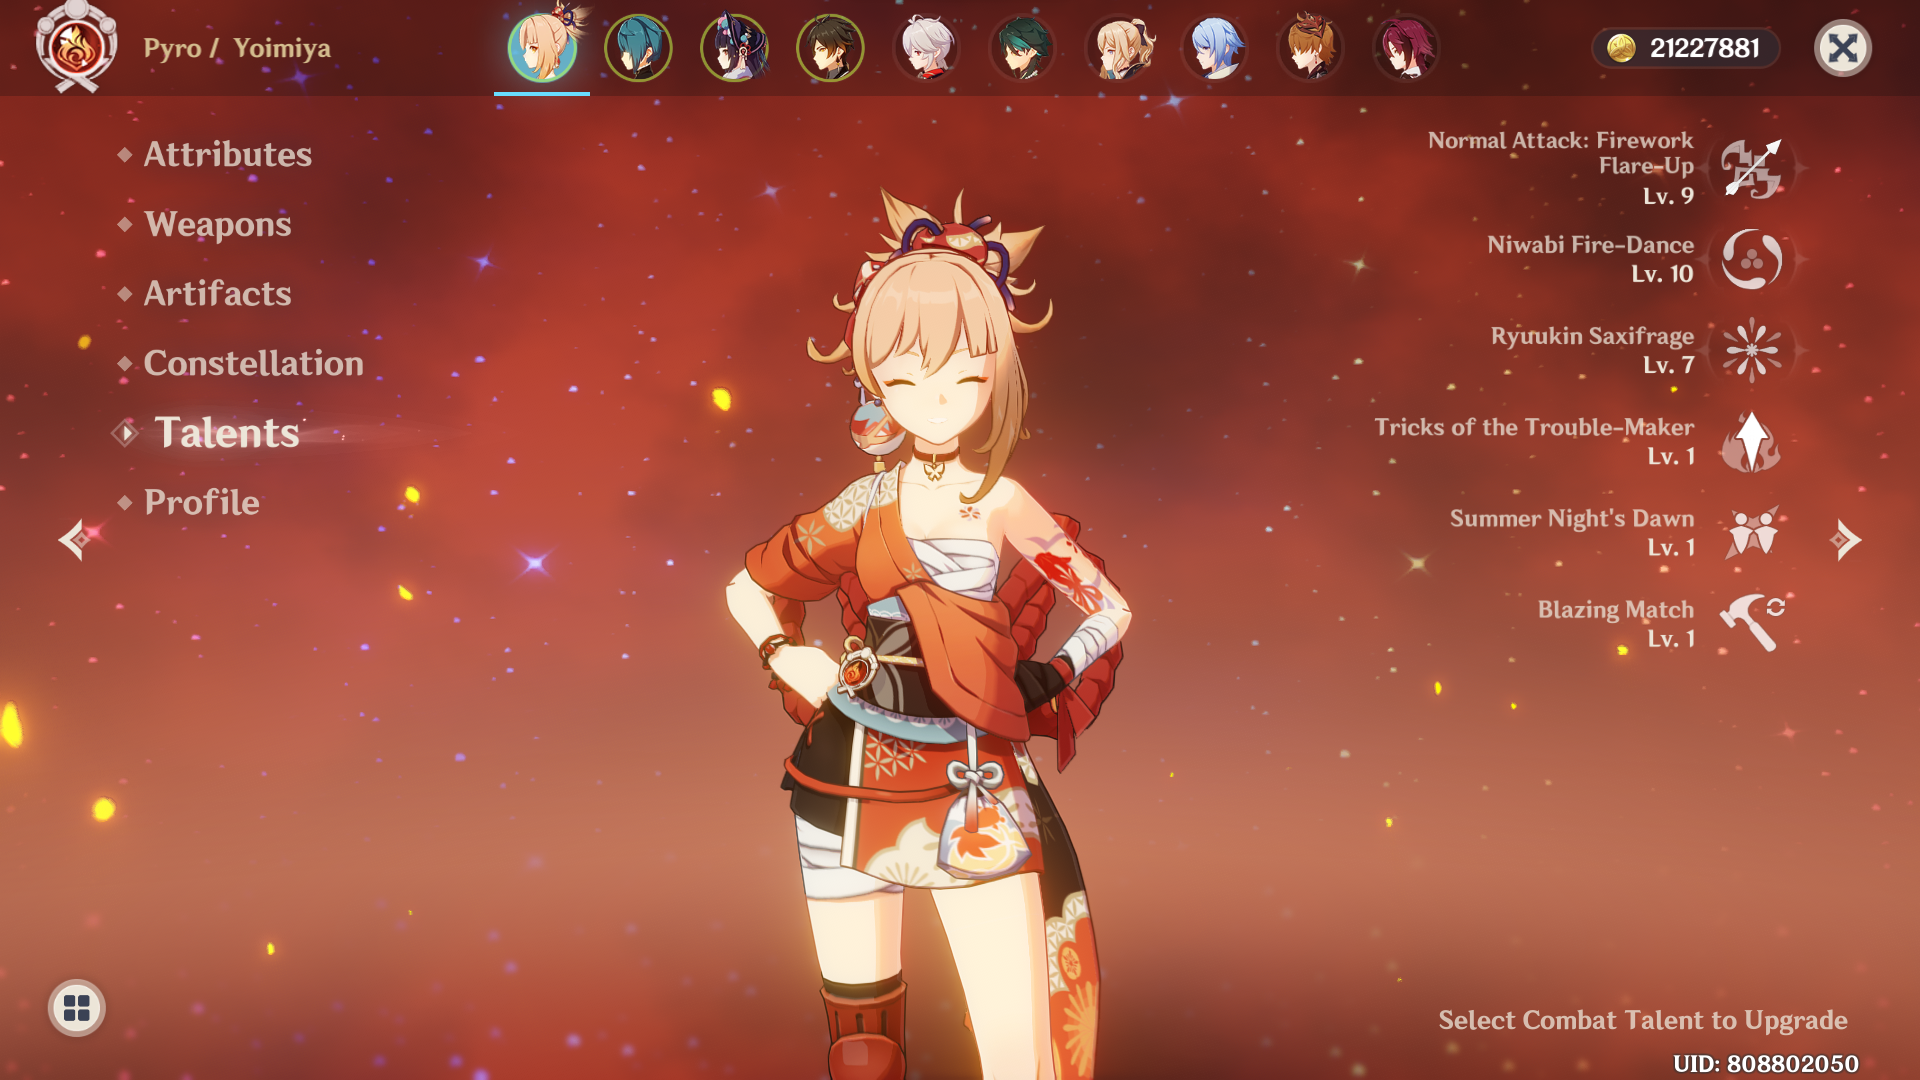
Normal Attack: Firework Flare-Up
Yoimiya’s bow allows her to perform a five-hit combo, with the third and fifth hits dealing the most damage. When her normal attack is charged, it converts to Pyro damage after one charge, generating up to three Kindling Arrows if the charge reaches Level 2. While her normal attack is best suited for single targets, Yoimiya’s plunging attack creates an AOE shower of arrows on impact.
Elemental Skill: Niwabi Fire-Dance
While Yoimiya’s Elemental Skill, Niwabi Fire-Dance, is active, her normal attack is transformed into Blazing Arrows, dealing Pyro damage and increasing the damage output. However, during this state, the second charge level of her Elemental Skill, Firework Flare-Up, will not create Kindling Arrows.
Elemental Burst: Ryuukin Saxifrage
Yoimiya uses her Elemental Burst to jump up and throw fireworks on the ground, causing AOE Pyro damage and applying the Aurous Blaze effect on a random enemy. If an enemy marked by Aurous Blaze is hit with any attack from a party member other than Yoimiya, it will trigger an explosion dealing AOE Pyro damage. If the affected enemy dies, the effect transfers to another nearby enemy. The Aurous Blaze effect can only be triggered once every two seconds, and it will immediately stop if Yoimiya is knocked down.
1st Ascension Passive: Tricks of the Trouble Maker
While using Niwabi Fire-Dance, each hit from Yoimiya’s normal attack grants a Pyro damage bonus of 2%, which can stack up to ten times and lasts for three seconds.
4th Ascension Passive: Summer Night’s Dawn
Activating Ryuukin Saxifrage grants nearby party members a 10% attack boost for 15 seconds, and every stack of Yoimiya’s Tricks of the Trouble Maker increases this attack bonus by an additional 1%.
Utility Passive: Blazing Match
When crafting Decoration, Ornament, and Landscape Furnishings, Yoimiya has a guaranteed chance to receive a partial refund of the materials used.
Yoimiya Constellations
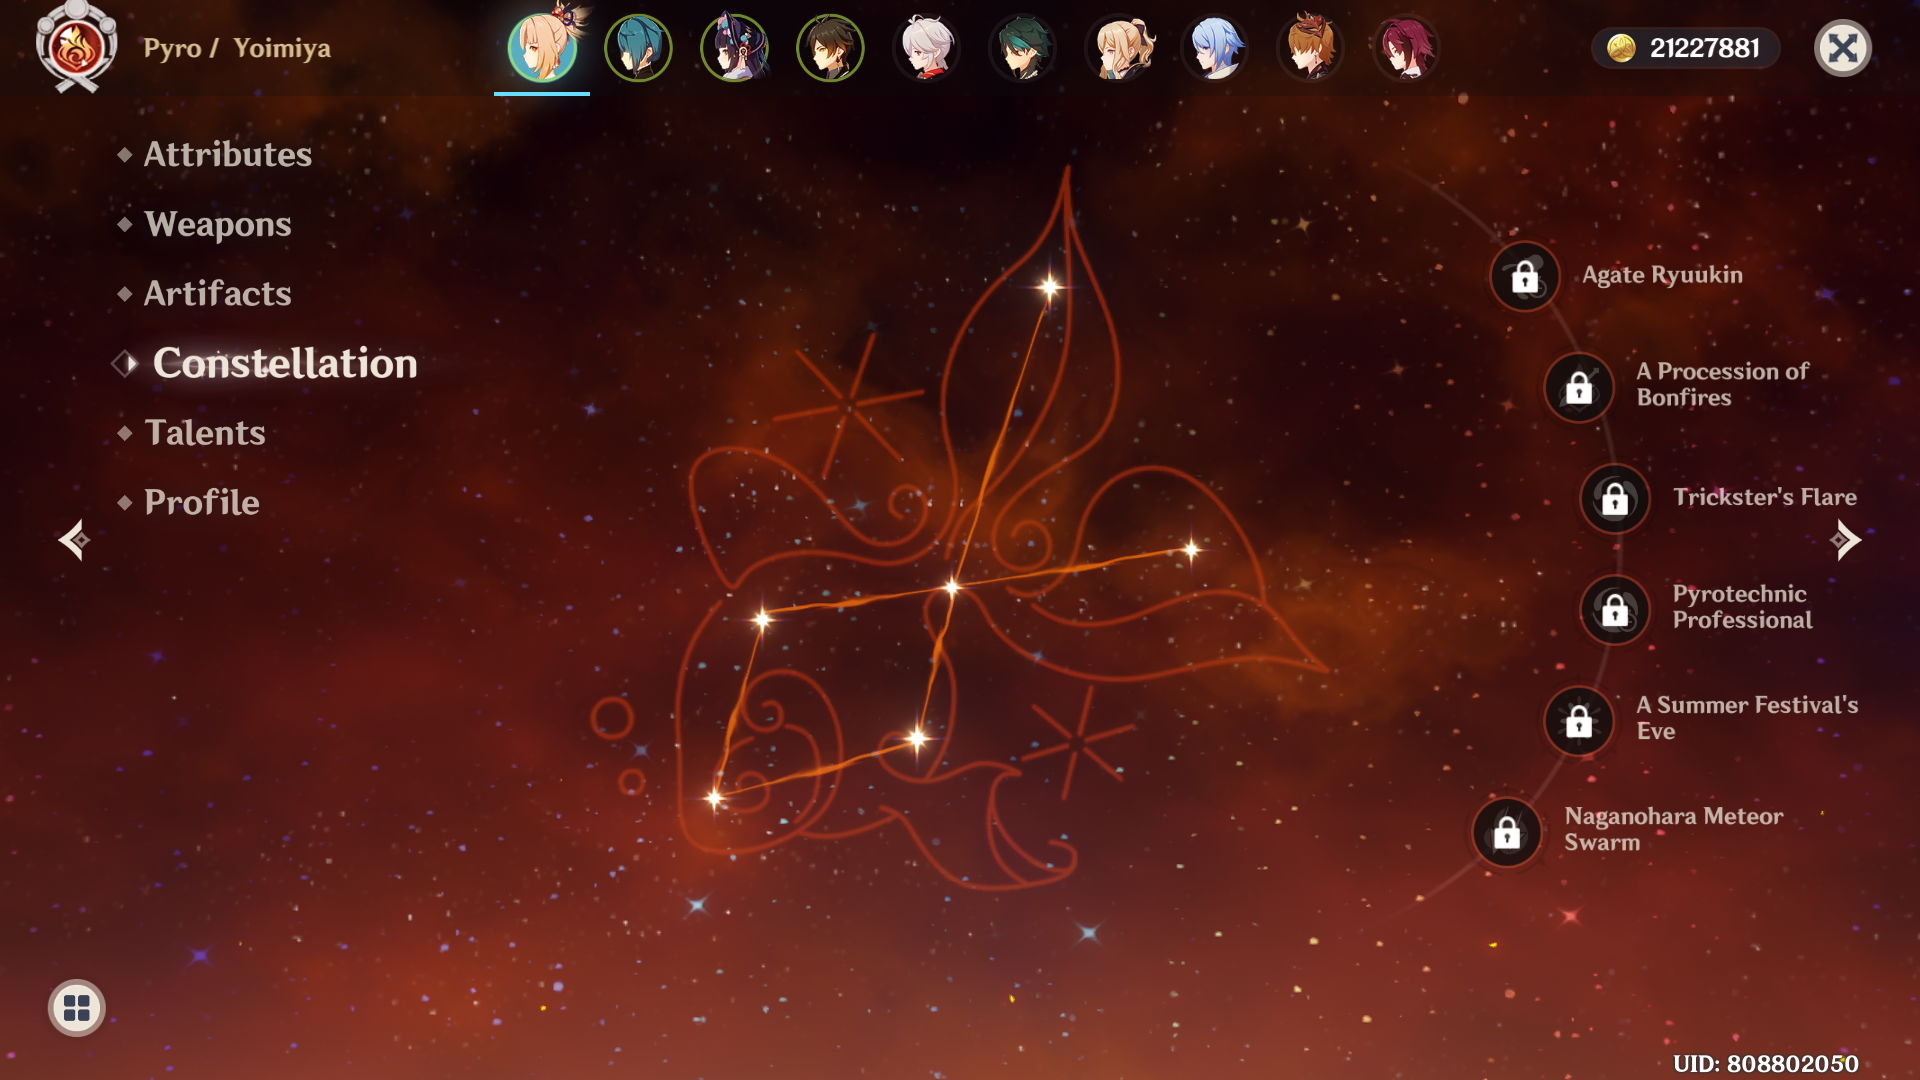
- Agate Ryuukin (C1): Aurous Blaze lasts for an additional four seconds. When Yoimiya defeats an opponent affected by Aurous Blaze, her attack increases by 20% for 20 seconds.
- A Procession of Bonfires (C2): Yoimiya’s Pyro damage dealt increases by 25% for six seconds whenever she scores a critical hit with Pyro damage, which can be triggered even when she is not currently in use.
- Trickster’s Flare (C3): This talent increases the level of Yoimiya’s Elemental Skill, Niwabi Fire-Dance, up to a maximum level of 15.
- Pyrotechnic Professional (C4): The explosion triggered by Aurous Blaze reduces the cooldown of Niwabi Fire-Dance by 1.2 seconds.
- A Summer Festival’s Eve (C5): Yoimiya’s Elemental Burst, Ryuukin Saxifrage, can be upgraded by three levels with a maximum level of 15 using this item.
- Naganohara Meteor Swarm (C6): Yoimiya’s normal attacks have a 50% chance of firing an additional Blazing Arrow, dealing 60% of the original damage when Niwabi Fire-Dance is activated. It’s worth noting that this is normal attack damage and not elemental.
Best Team Comp
Premium Team for Yoimiya
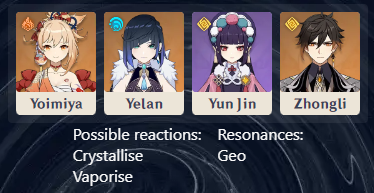
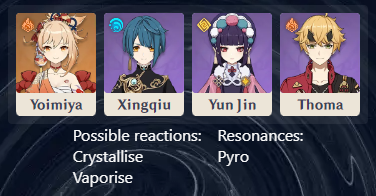
Yelan offers potent Hydro DMG and buffs while off the field, while Yun Jin provides a powerful Normal Attack DMG buff to Yoimiya. Zhongli delivers a sturdy shield and reduces the enemy’s damage resistance universally.
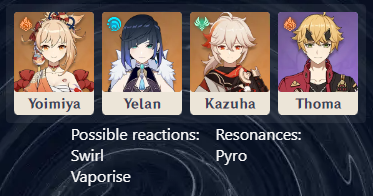
To optimize Pyro damage, this Anemo Reverse Vaporize team employs Kazuha to absorb Hydro in his Elemental Burst, followed by switching to Thoma to apply Pyro with his Elemental Burst, before switching back to Kazuha to Swirl Pyro with his Elemental Skill. This guarantees Yoimiya receives the full Pyro Buffs from Kazuha’s Viridescent Venerer Set.
Free-to-Play Friendly Team for Yoimiya
A more budget-friendly team for Yoimiya’s optimal composition would feature Bennett as a potential substitute for Yun Jin. This setup can also be highly effective if Thoma has reached Constellation 6.
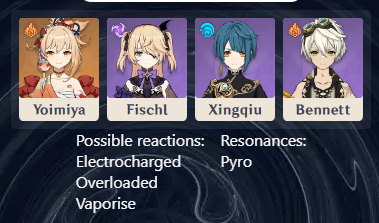
The main goal of this team build for Yoimiya is to maximize elemental reactions, making the Crimson Witch set the best option for this party. Fischl and Xingqiu both benefit from ATK% scaling and the buffs given by Yoimiya and Bennett. A C6 Fischl can also create amazing synergy with Yoimiya.
How to Use Yoimiya
It’s all about the Normal Attacks. Yoimiya’s normal attacks are crucial in Genshin Impact as they deal the most damage compared to her charged or plunging attacks. Therefore, building her around increasing the damage output of her normal attacks is crucial.
To enhance Yoimiya’s normal attacks, players should prioritize upgrading her normal attack Talent Level as this scales with her Pyro damage bonus through her Elemental Skill, Niwabi Fire-Dance. By activating this skill as often as possible, Yoimiya’s attacks will deal Pyro damage and deal increase damage.
As Yoimiya excels at taking down single targets, it’s best to pair her with party members that can provide AOE damage support. Her Elemental Burst, Ryuukin Saxifrage, also increases the damage output of other party members, making it an excellent choice to use during boss fights. Party members like Kazuha or Xiangling can provide AOE damage support while also contributing to Yoimiya’s single-target focus.
To maximize Yoimiya’s damage output, team compositions that apply Overload or Vaporize Elemental Reactions are highly effective. This not only increases Yoimiya’s DPS potential but also provides the party with AOE damage support.
Don’t forget to top up your Genesis Crystals for Genshin Impact here at Codashop. It’s easier and faster since we have many safe and convenient payment options


 Collide in Honkai Star Rail 3.4 Fate/Stay Night Collab Event")


 Collide in Honkai Star Rail 3.4 Fate/Stay Night Collab Event")


